Grafting
Author: Knut Sætrevik
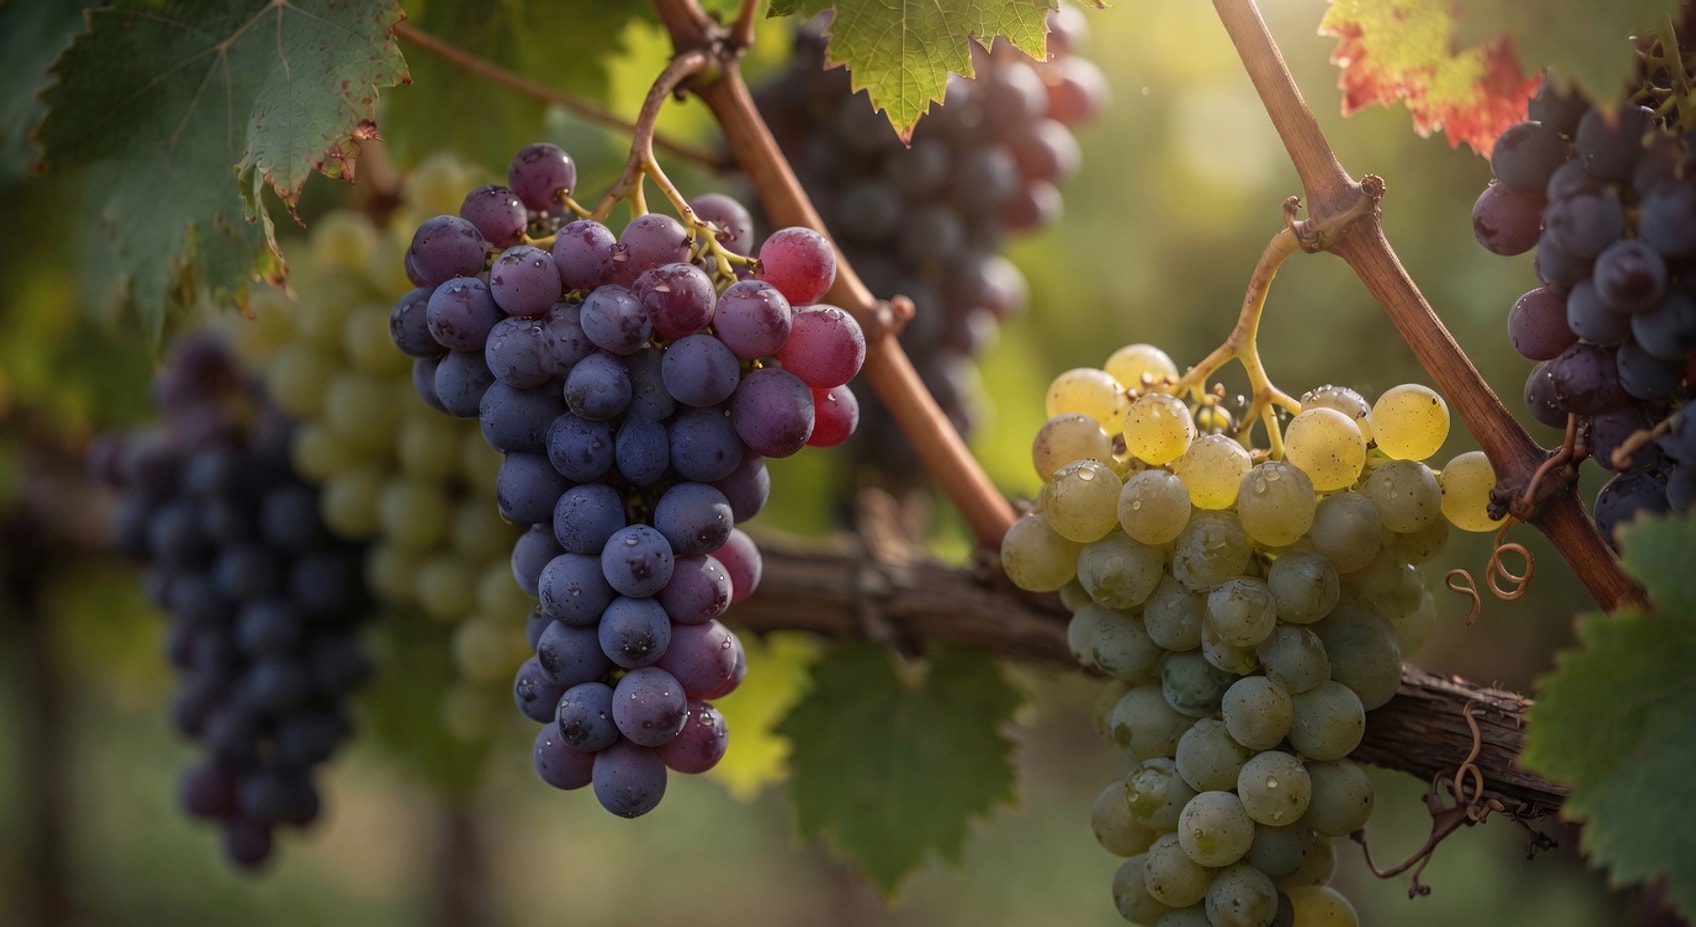
If you have an older grapevine that is growing well, but you are not satisfied with the taste, or if you want several different varieties on the same plant, it is possible to achieve this through grafting. In this way it is possible to have both white and blue grapes on the same plant. Grapevines used in European vineyards are always grafted onto American rootstocks, because the root louse Phylloxera does not attack these stocks. This louse has not yet been recorded in Scandinavia. There are 3 different ways to do this:
- Suging (approach grafting) – performed in spring/early summer
- Green grafting – performed May/June (on growing shoots)
- Grafting with mature wood – performed in spring/early summer With mature wood you can graft with just a single bud – budding (okulation). With a scion of the same thickness as the stock – whip graft (kopulasjon). With cleft or bark grafting – the mother trunk can then be much thicker than the scion.
1. Suging (Approach Grafting)
The simplest and safest method is by “suging”. Here we first need a plant about 50 cm tall in a pot. This is the one we will graft onto the mother plant. You can either place this standing in its pot against the main trunk of the mother plant, or plant it right next to it. A cut surface is then made that goes from 1/3 to 1/2 into the new plant. A corresponding cut is made in the mother plant. What is important in all grafting is that the cambium layer, which lies just under the bark of each plant, must meet each other – otherwise there will be no union. Then it must be wrapped reasonably tightly with tape or grafting tape, and sealed with grafting wax or paraffin wax so that no water or air enters from the outside. During the summer the two will grow together, and when autumn comes you can cut away the roots of the plant that stood in the pot. Check that mature wood has formed outside the graft point before you cut it free.
Figure: Selected one-year-old shoot near the ground
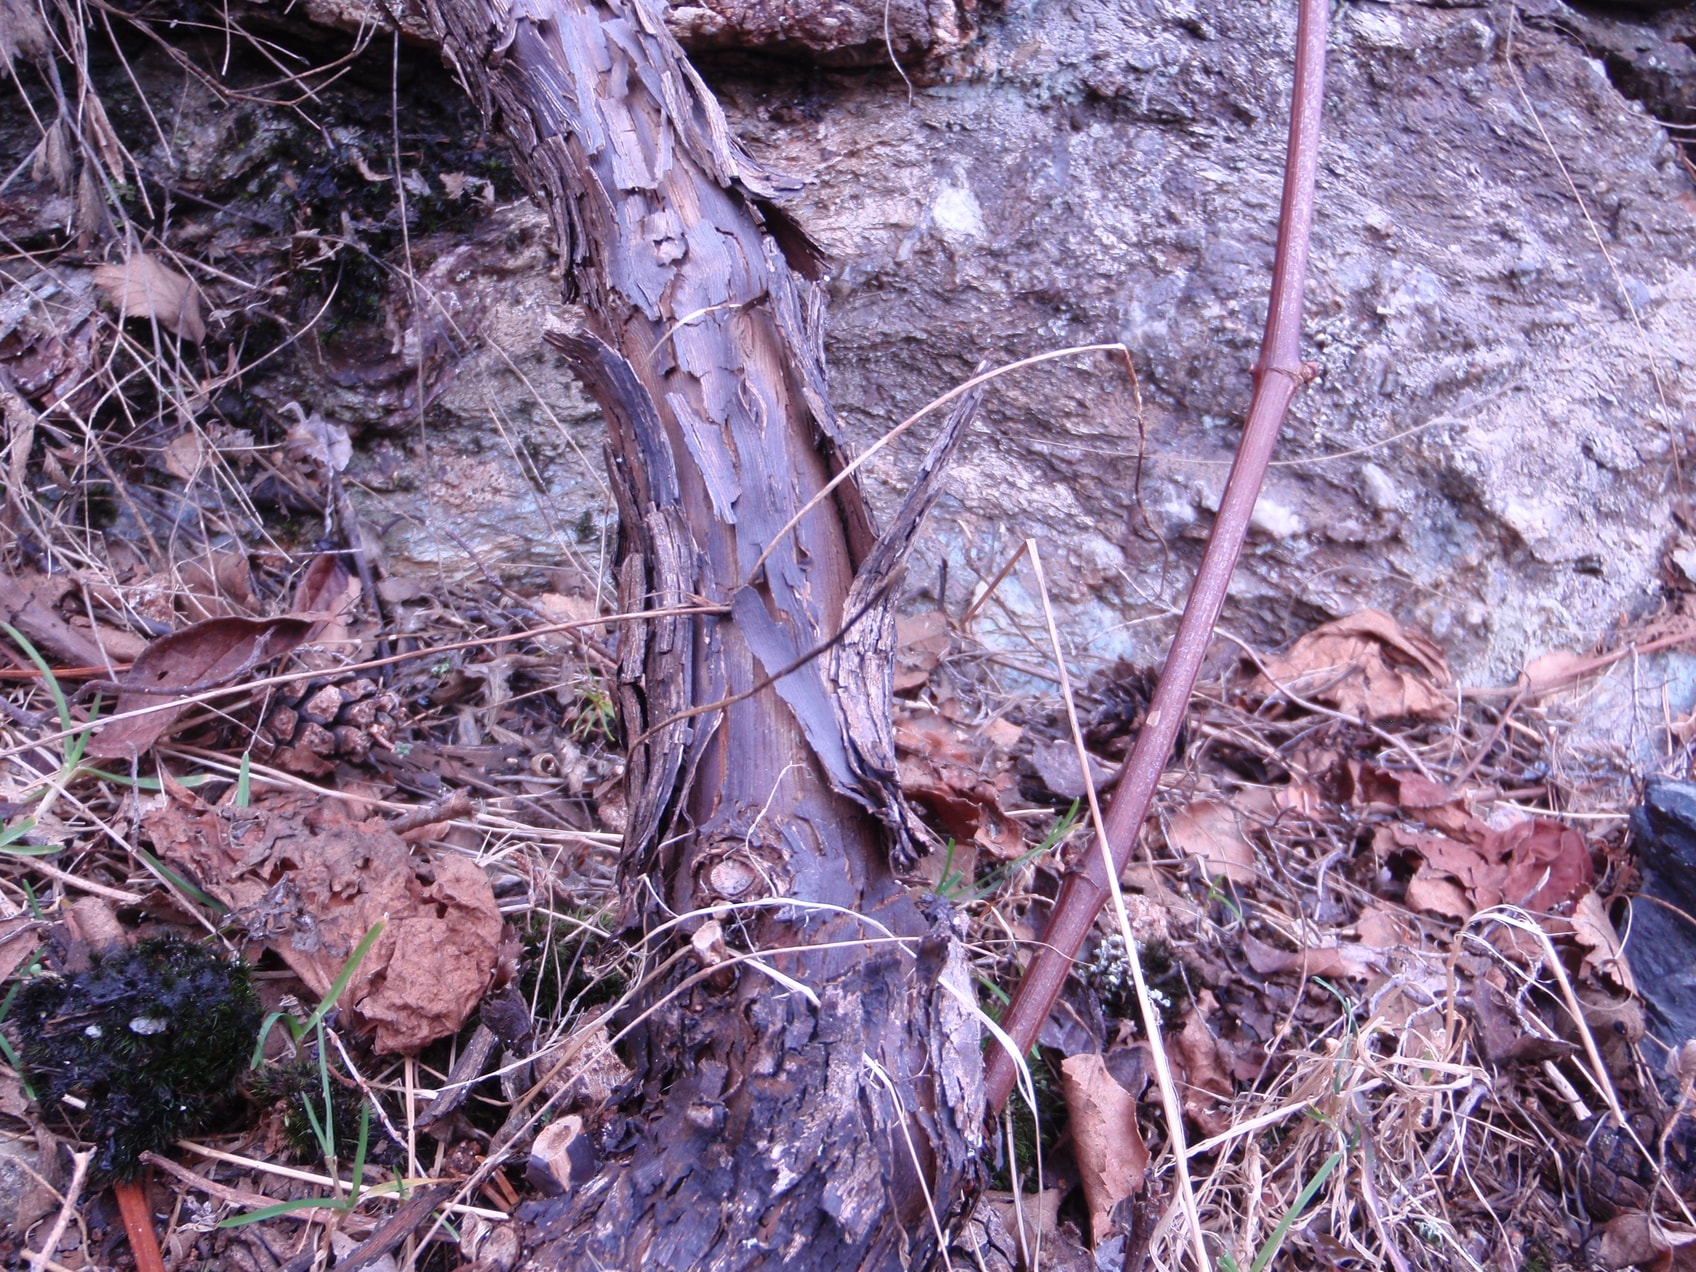
Figure: Cut in the mother plant (approx. 3–4 cm)
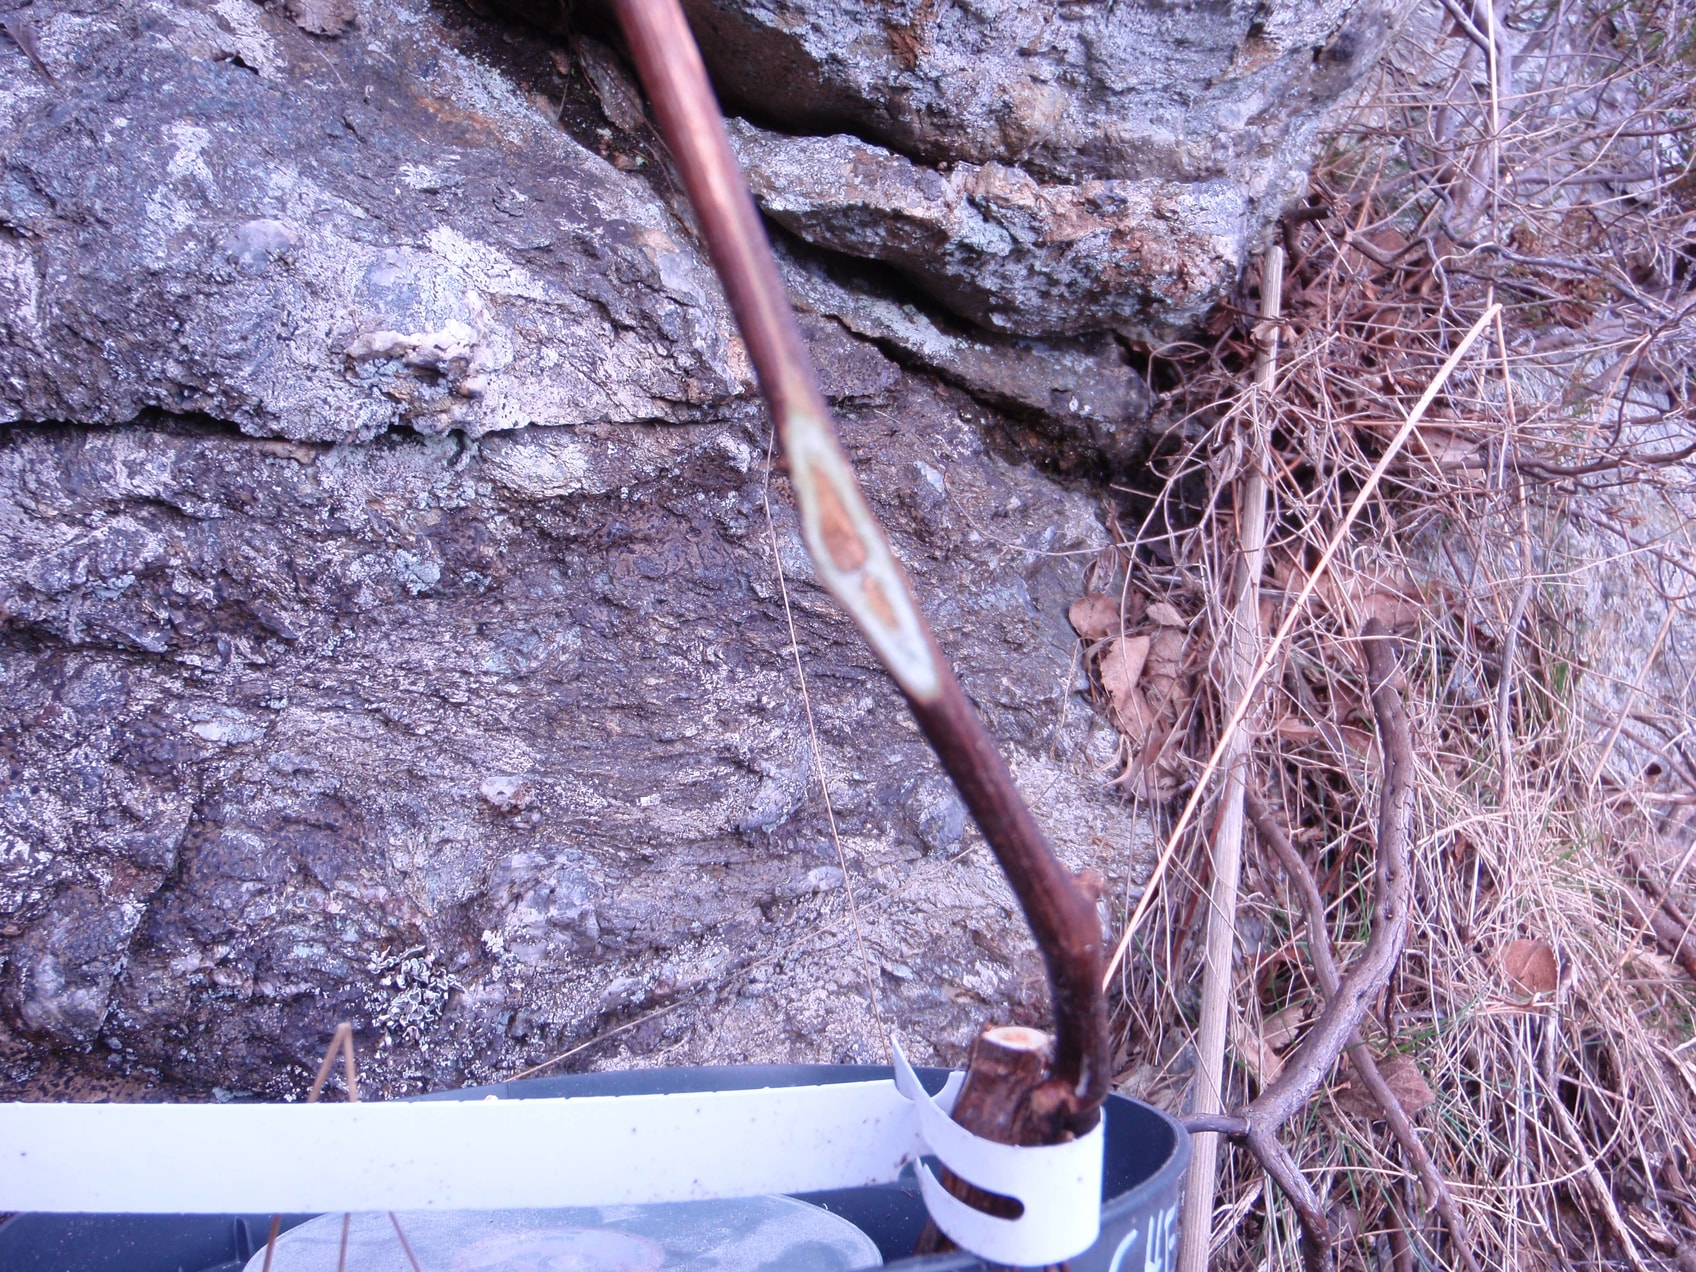
Figure: Corresponding cut on the scion
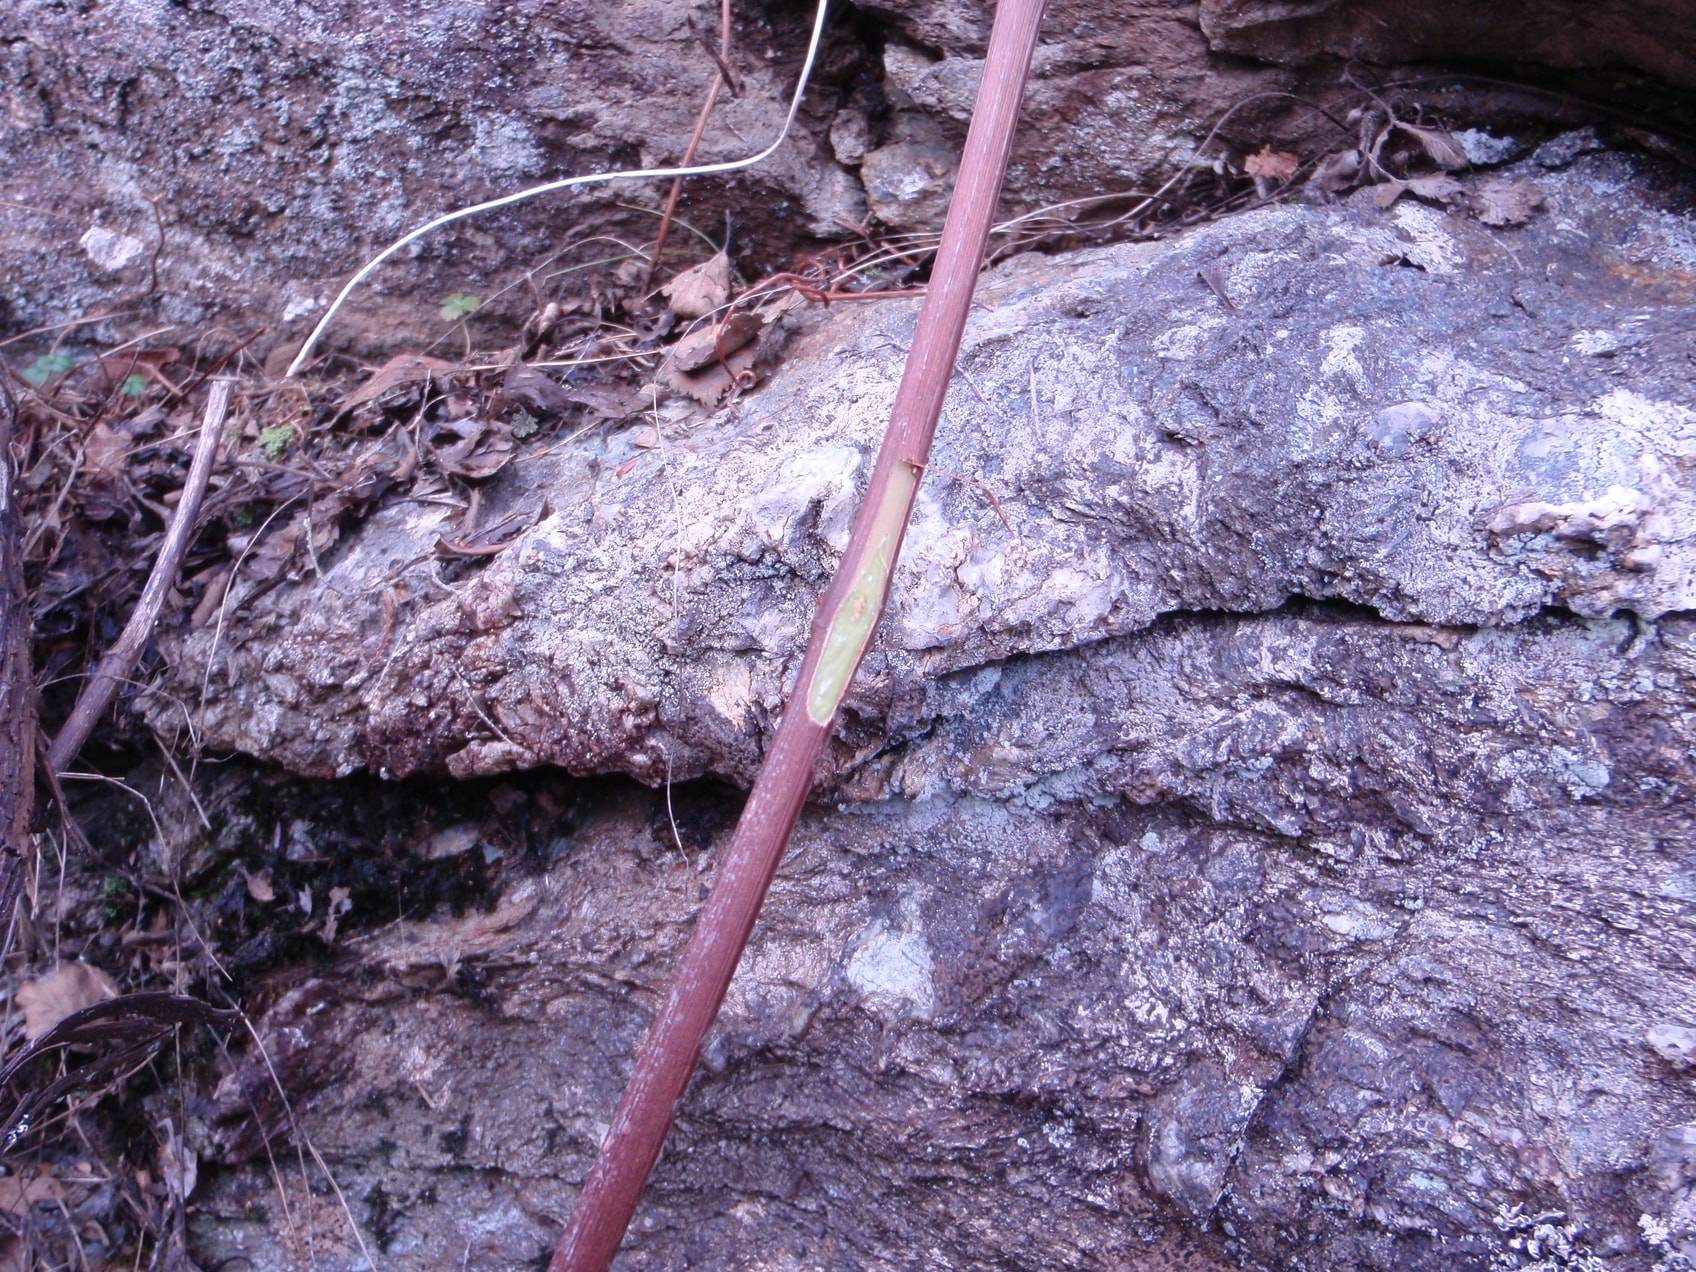
Figure: Aligning to the cambium layer
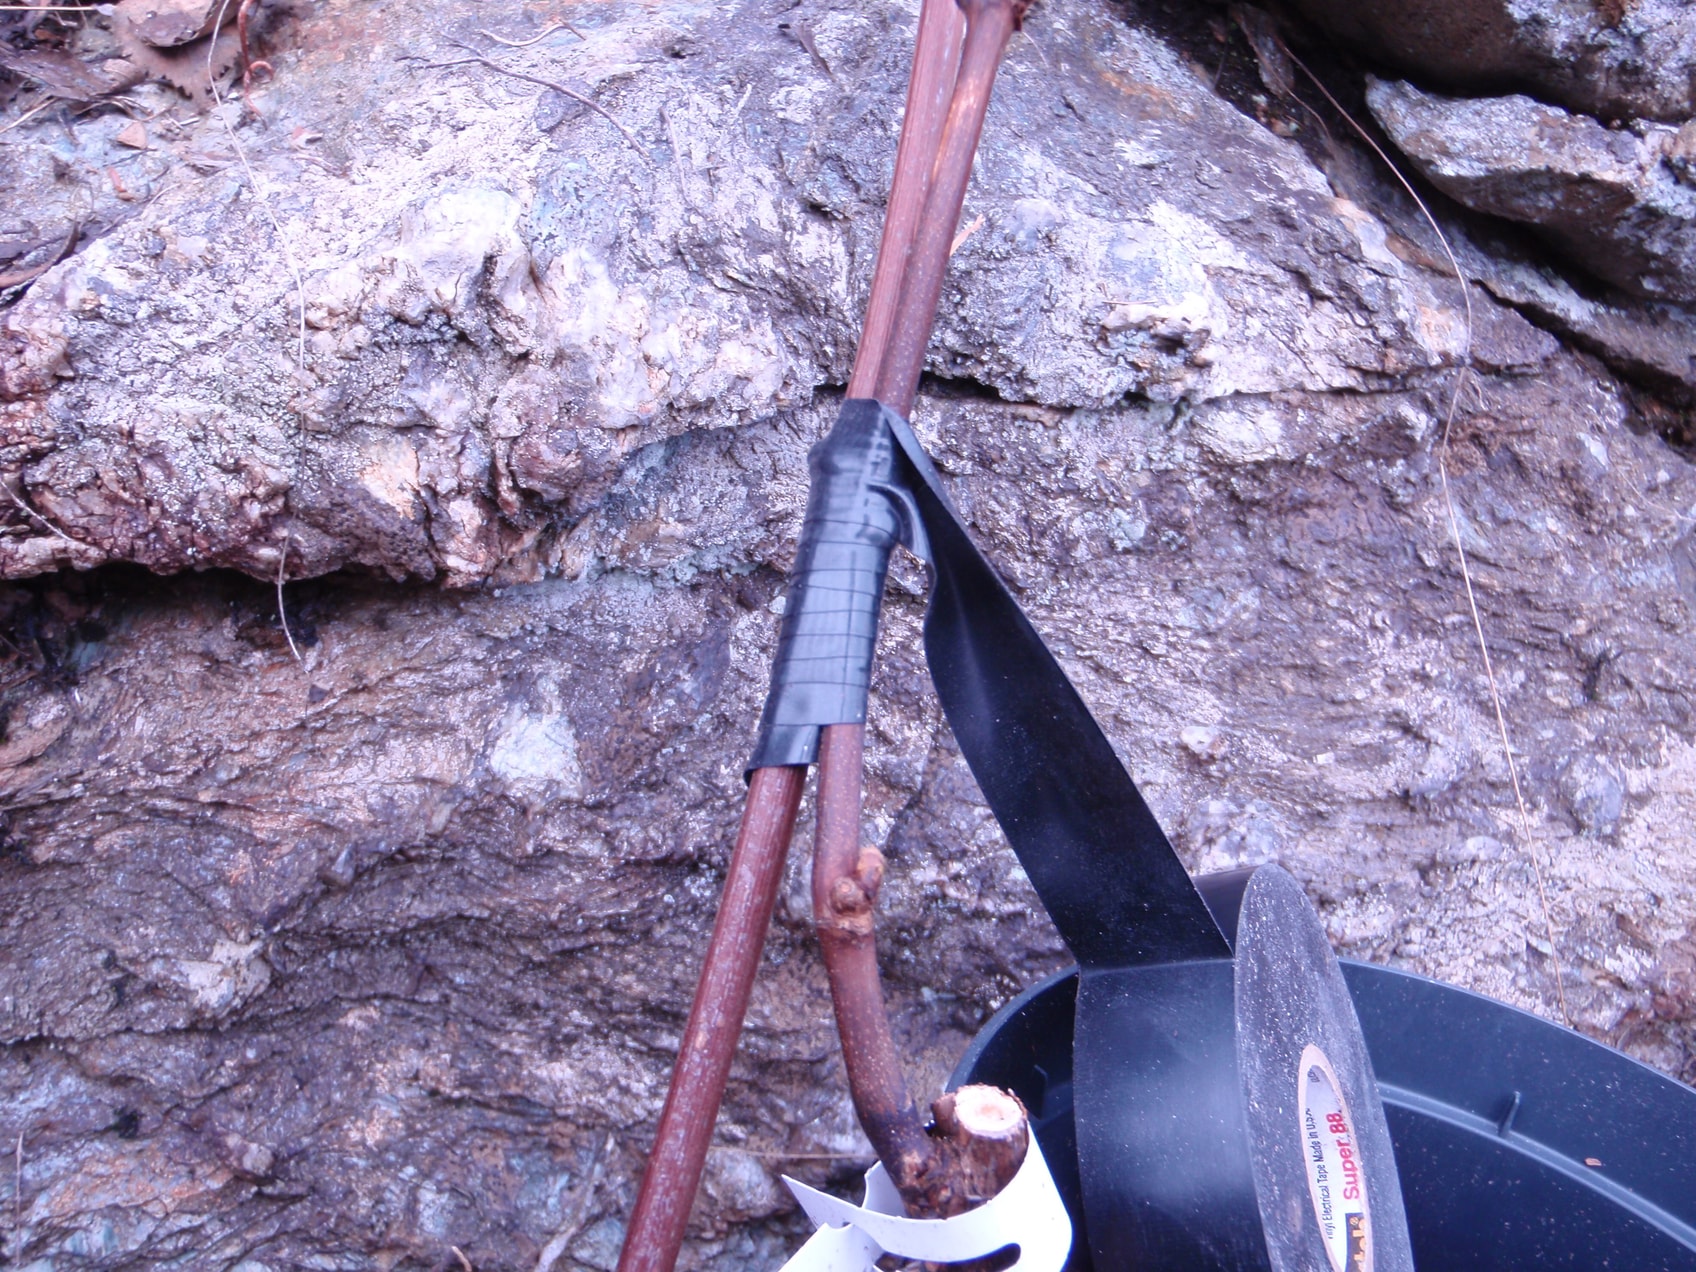
Figure: Sealing with grafting wax
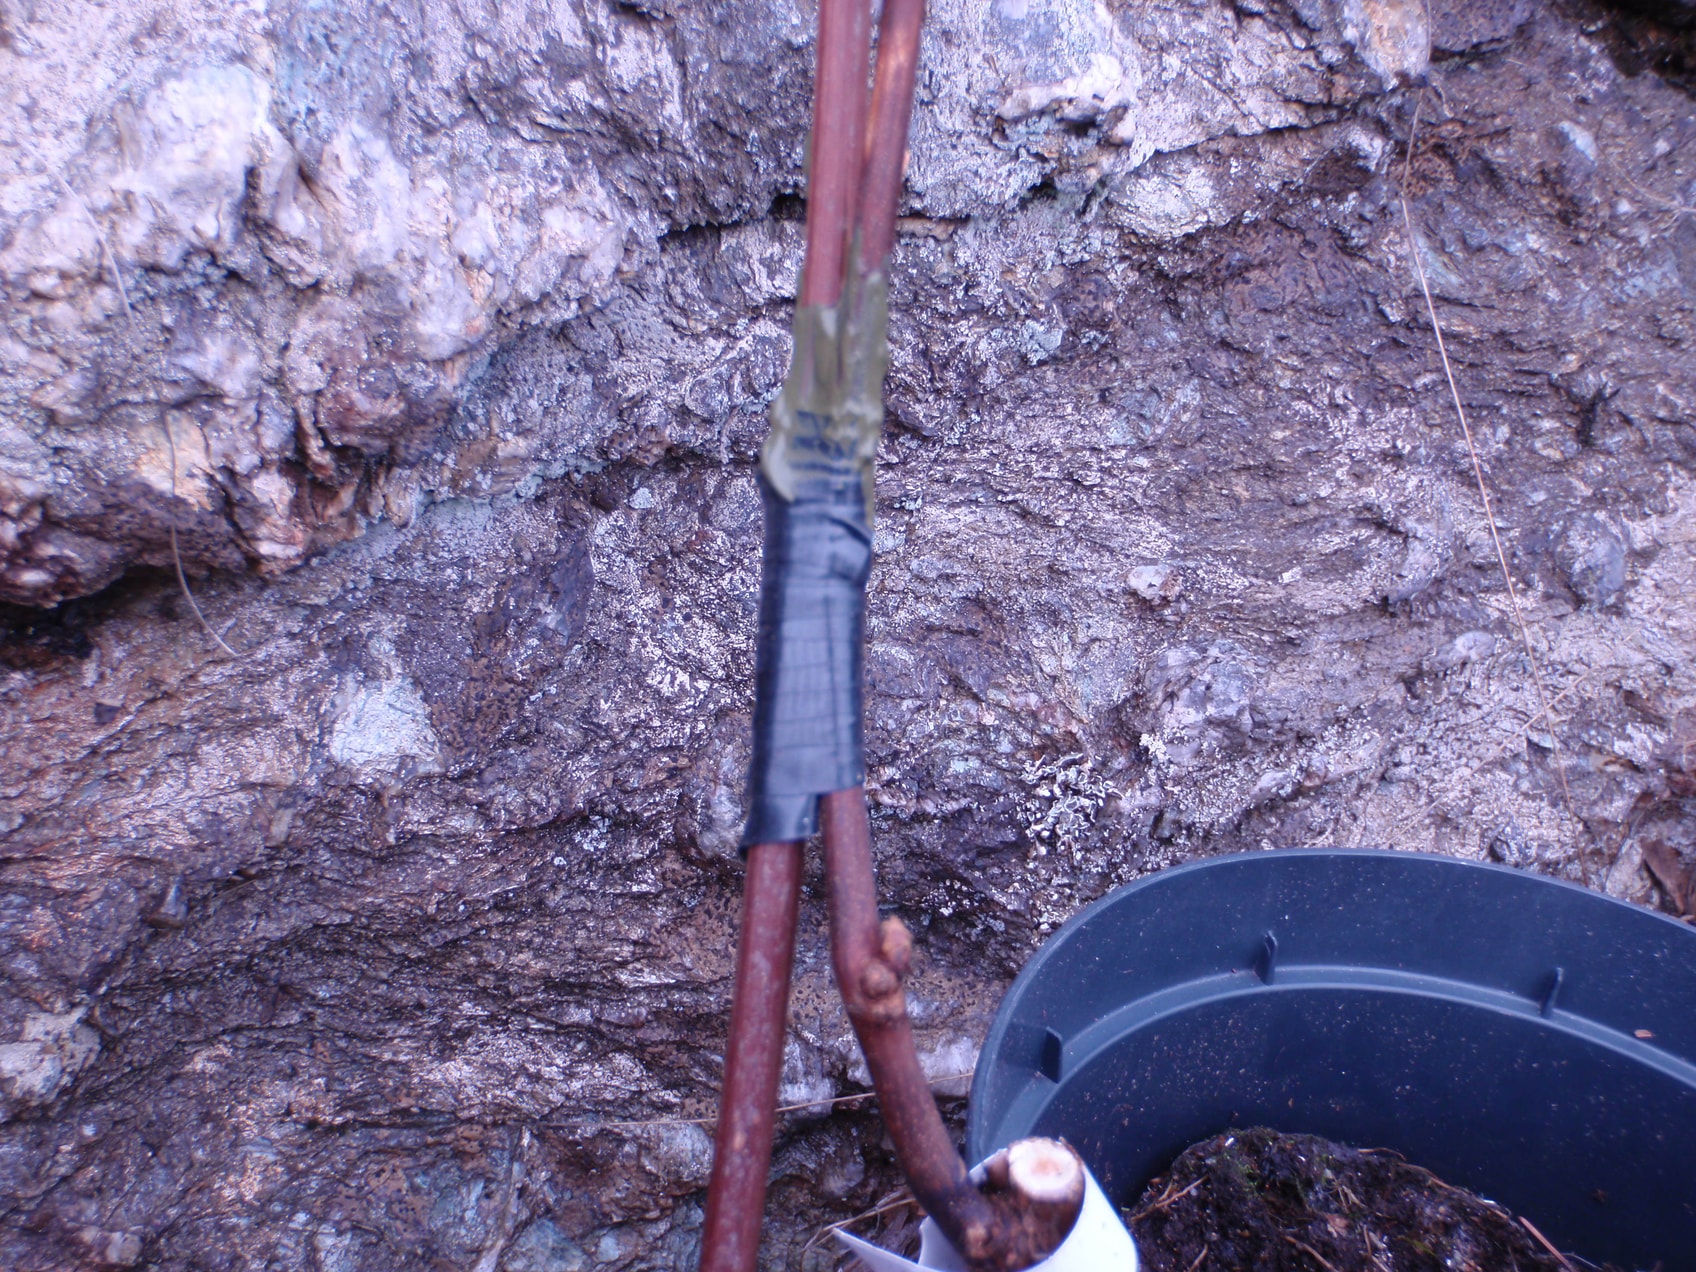
2. Green Grafting
As the heading suggests, this grafting is done on a plant/shoot that is in active growth.
Figure: Scion prepared with a sharp knife
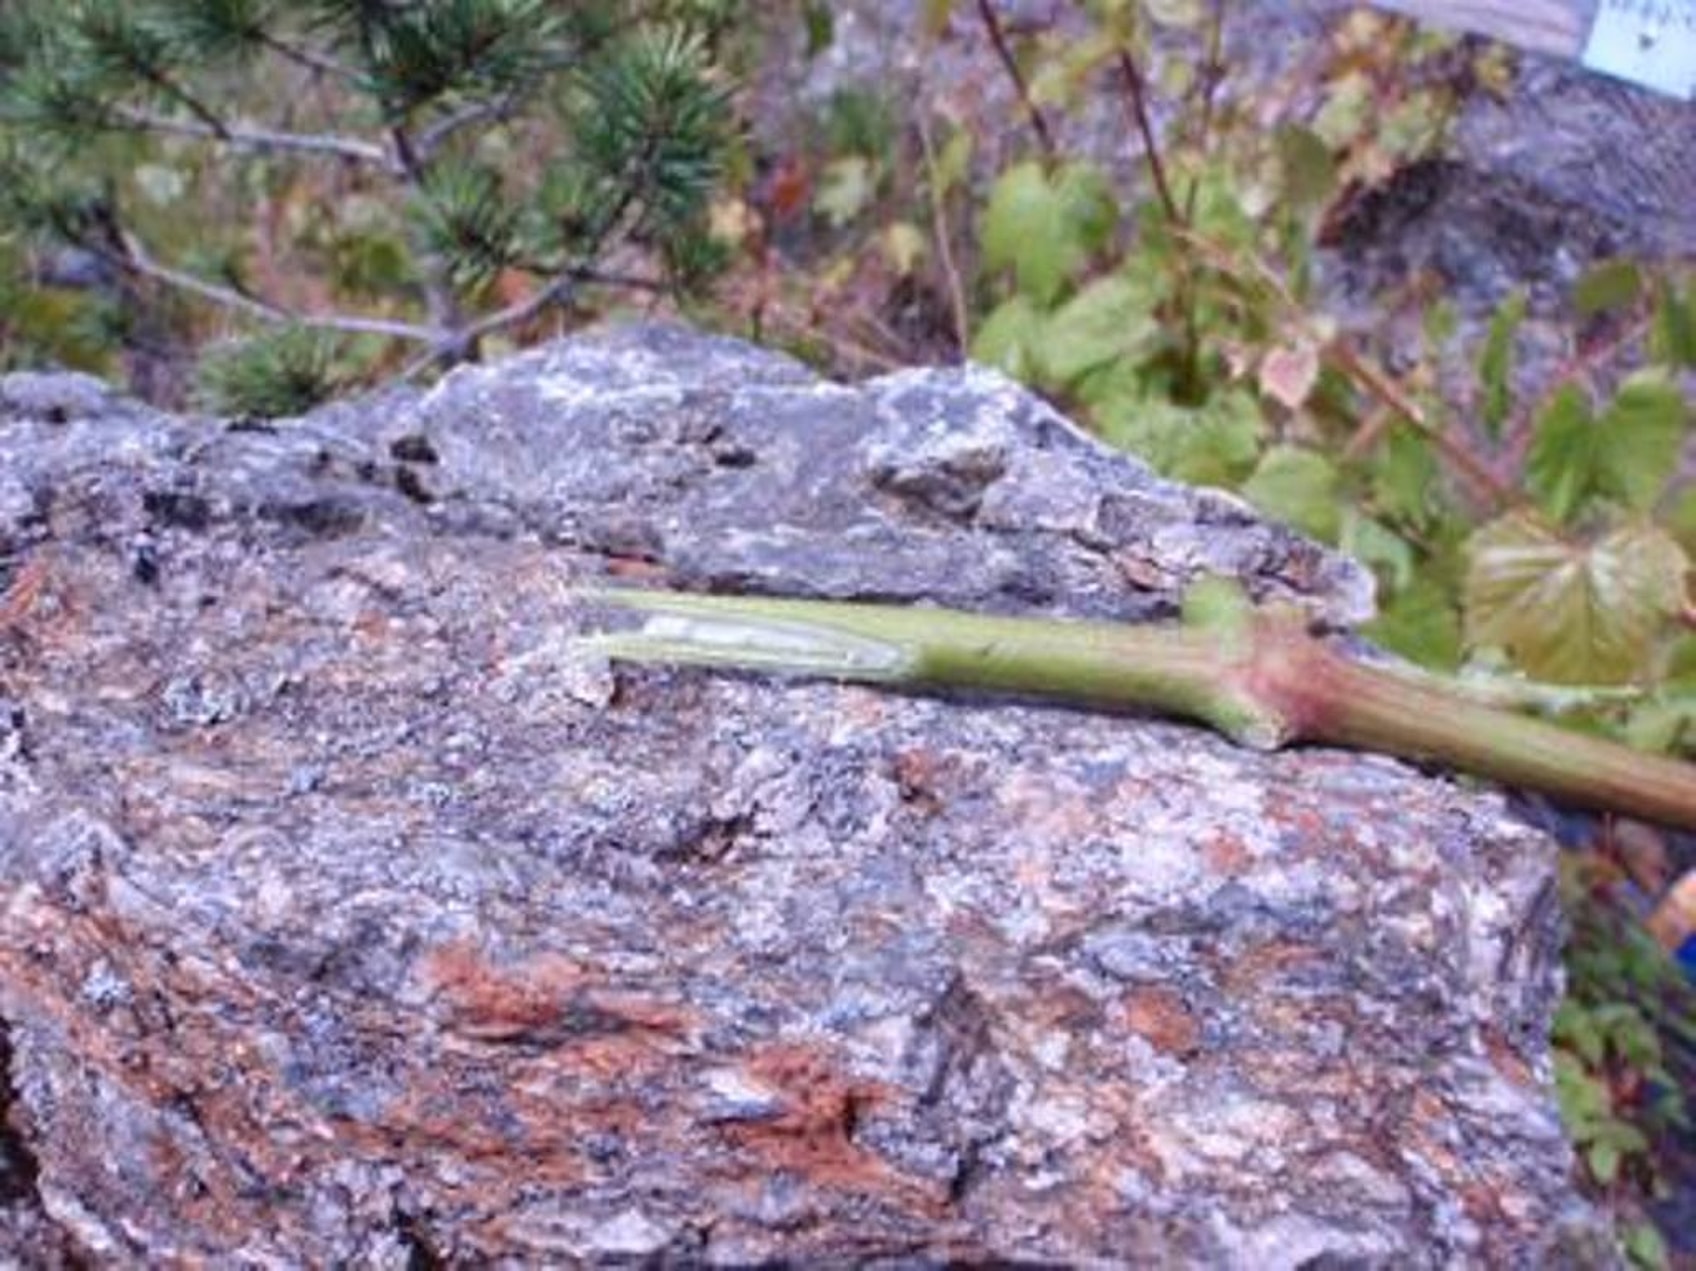
Figure: Scion cut equally from both sides
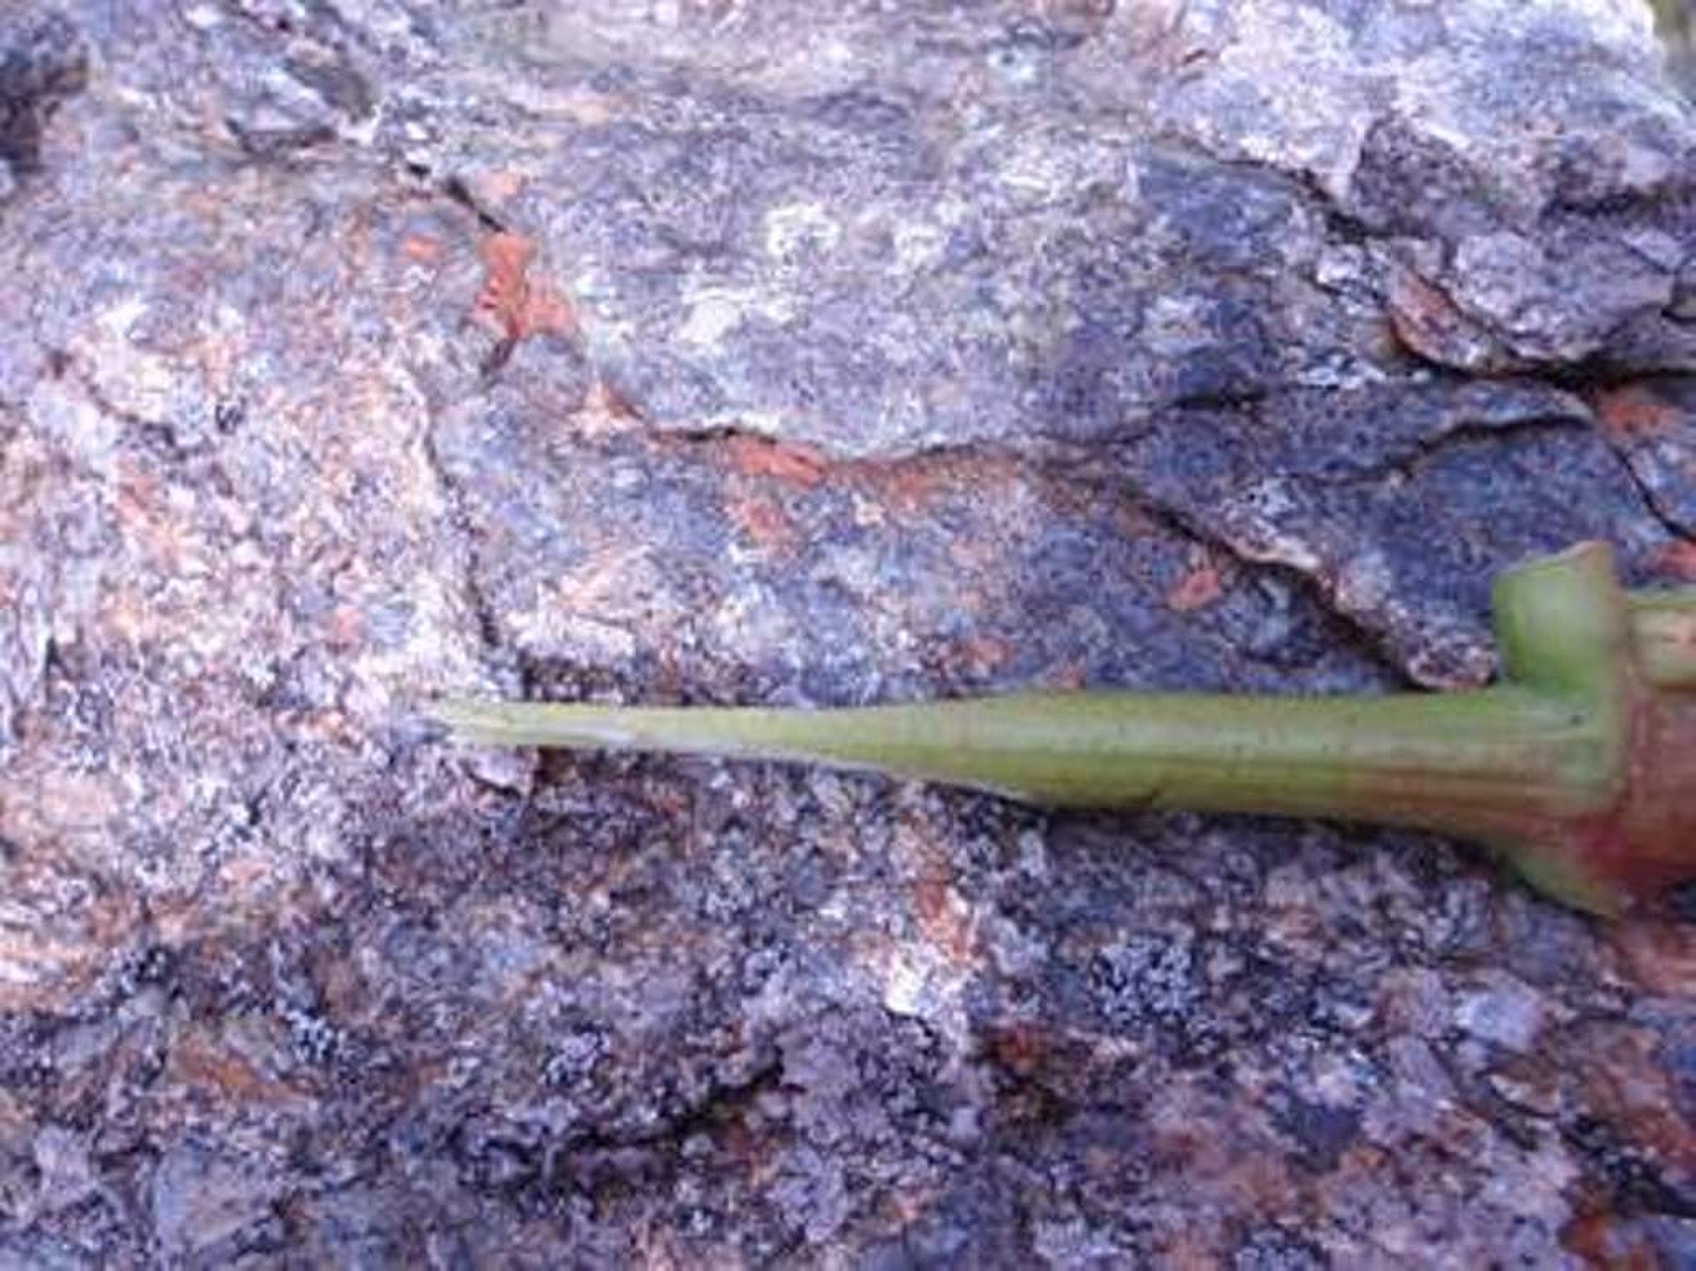
Figure: Inserted into the central cleft on the stock
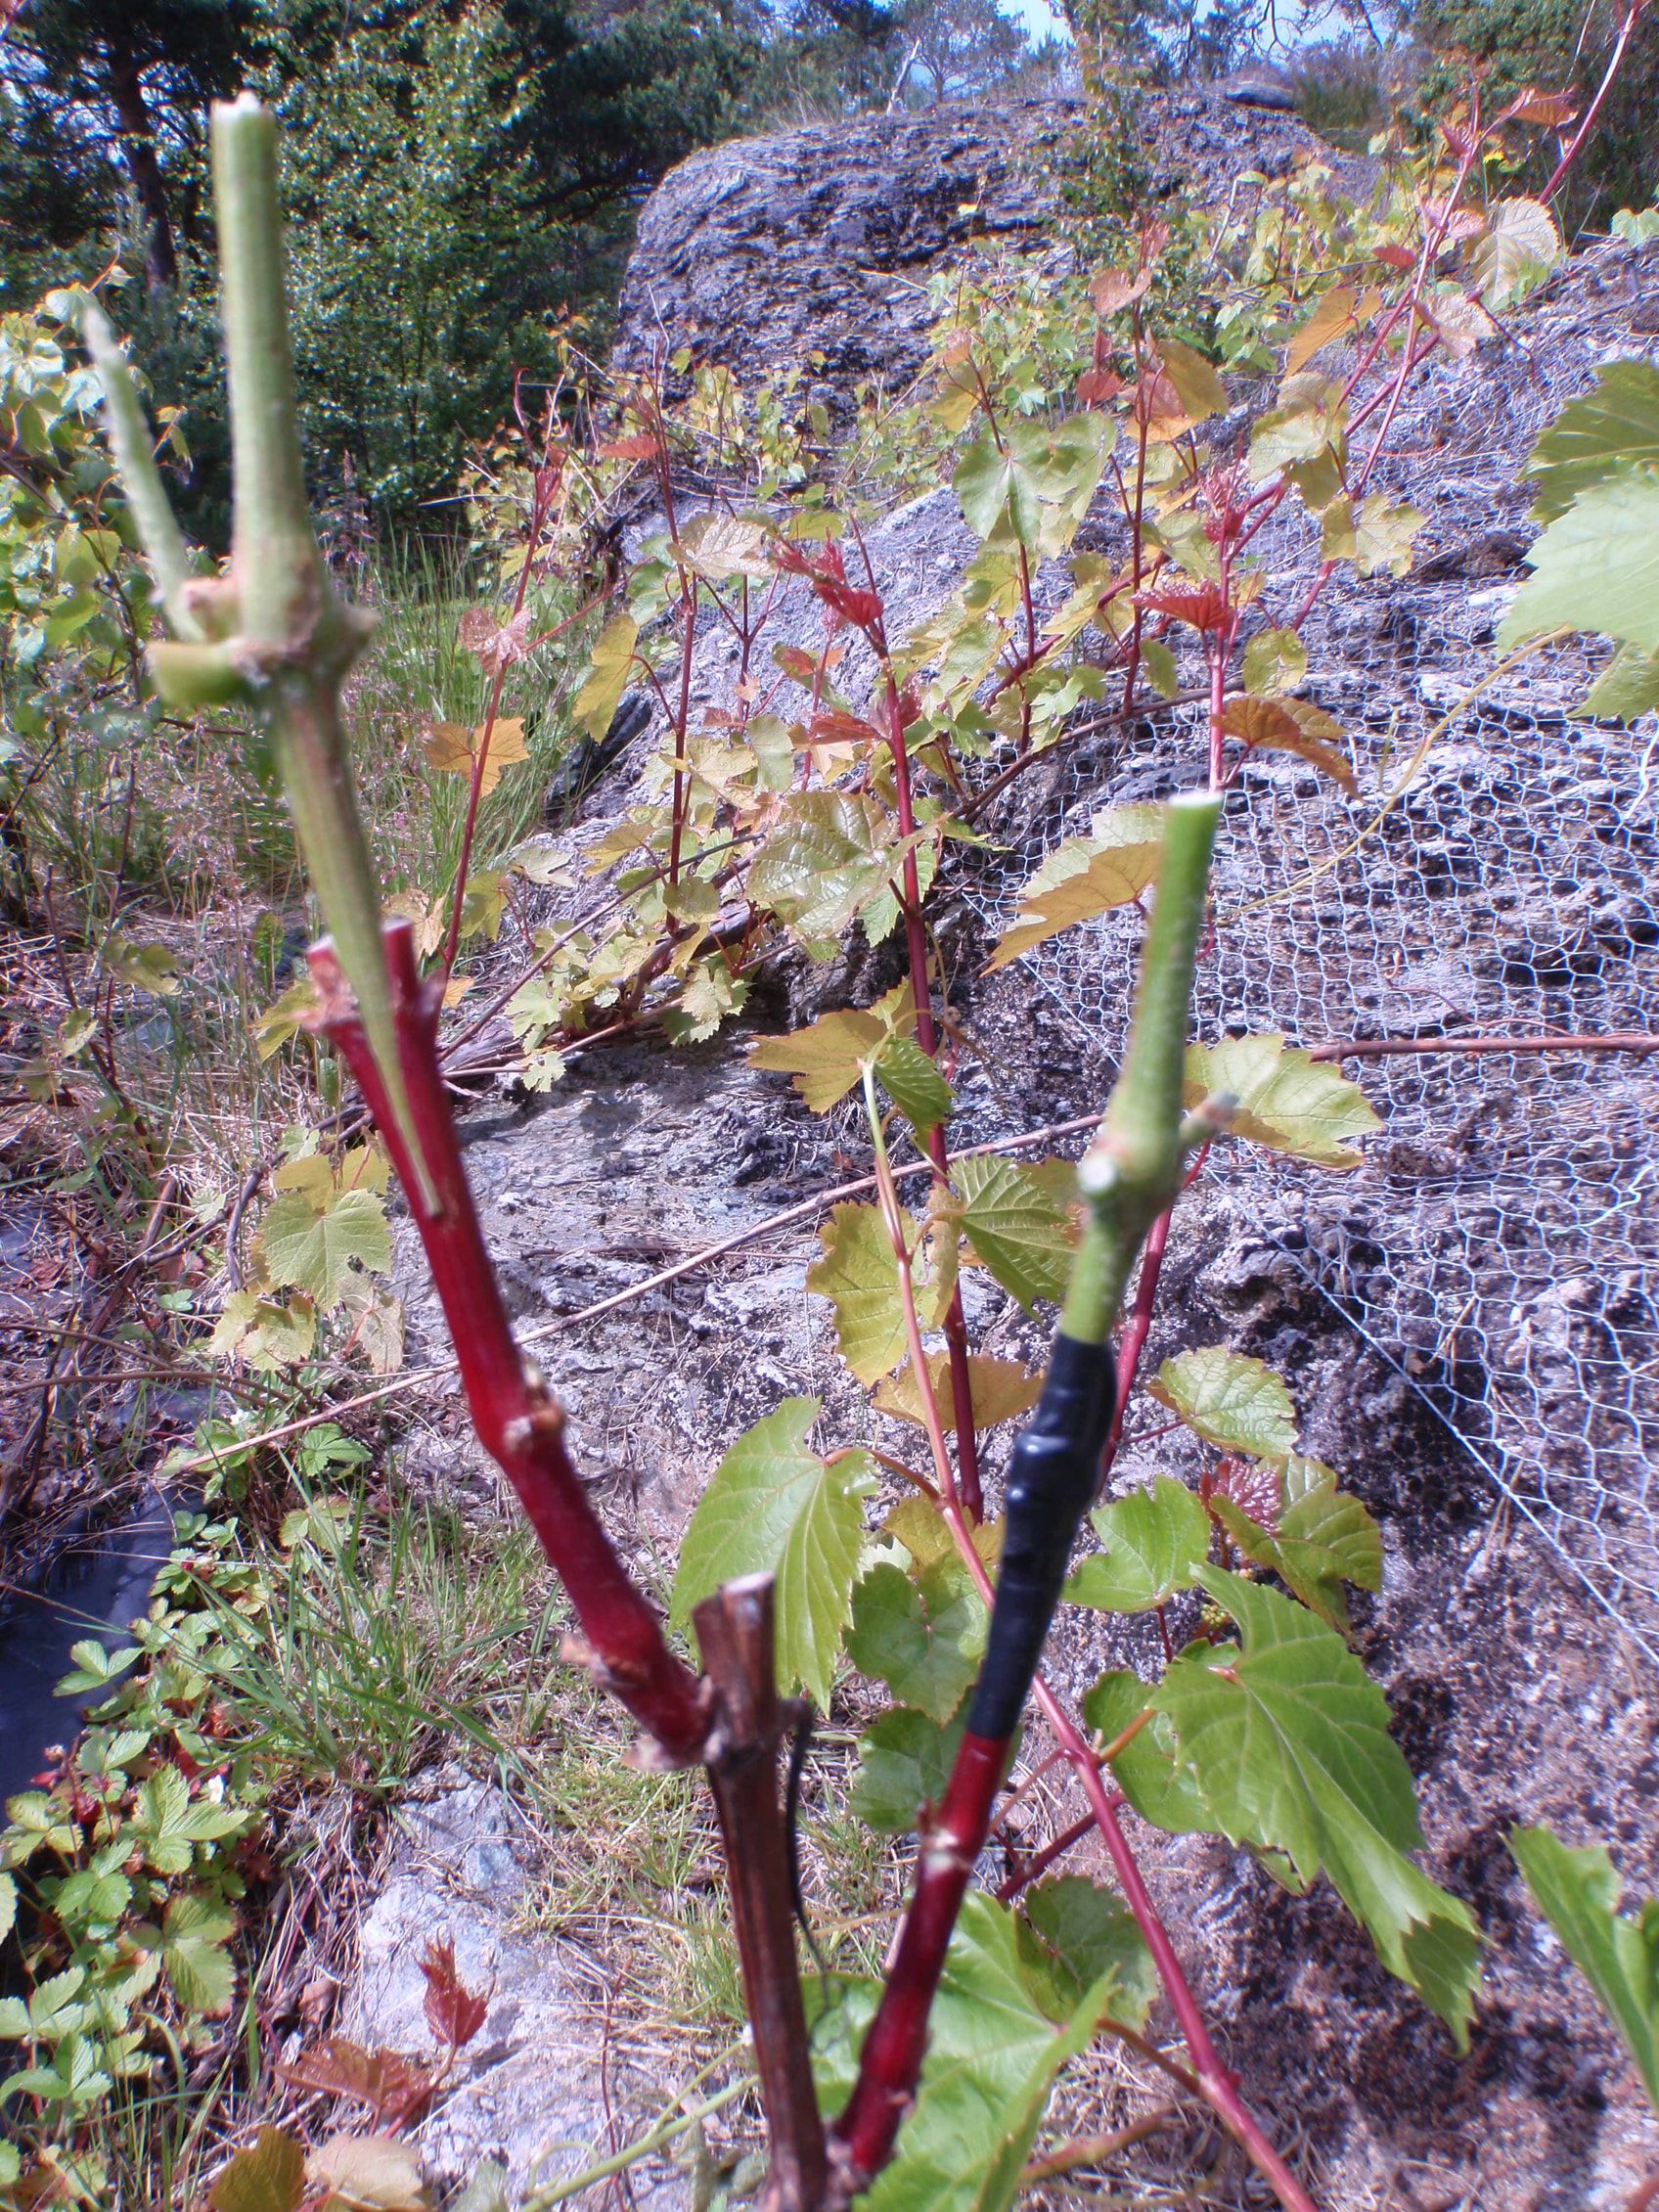
Figure: Wrapped with tape
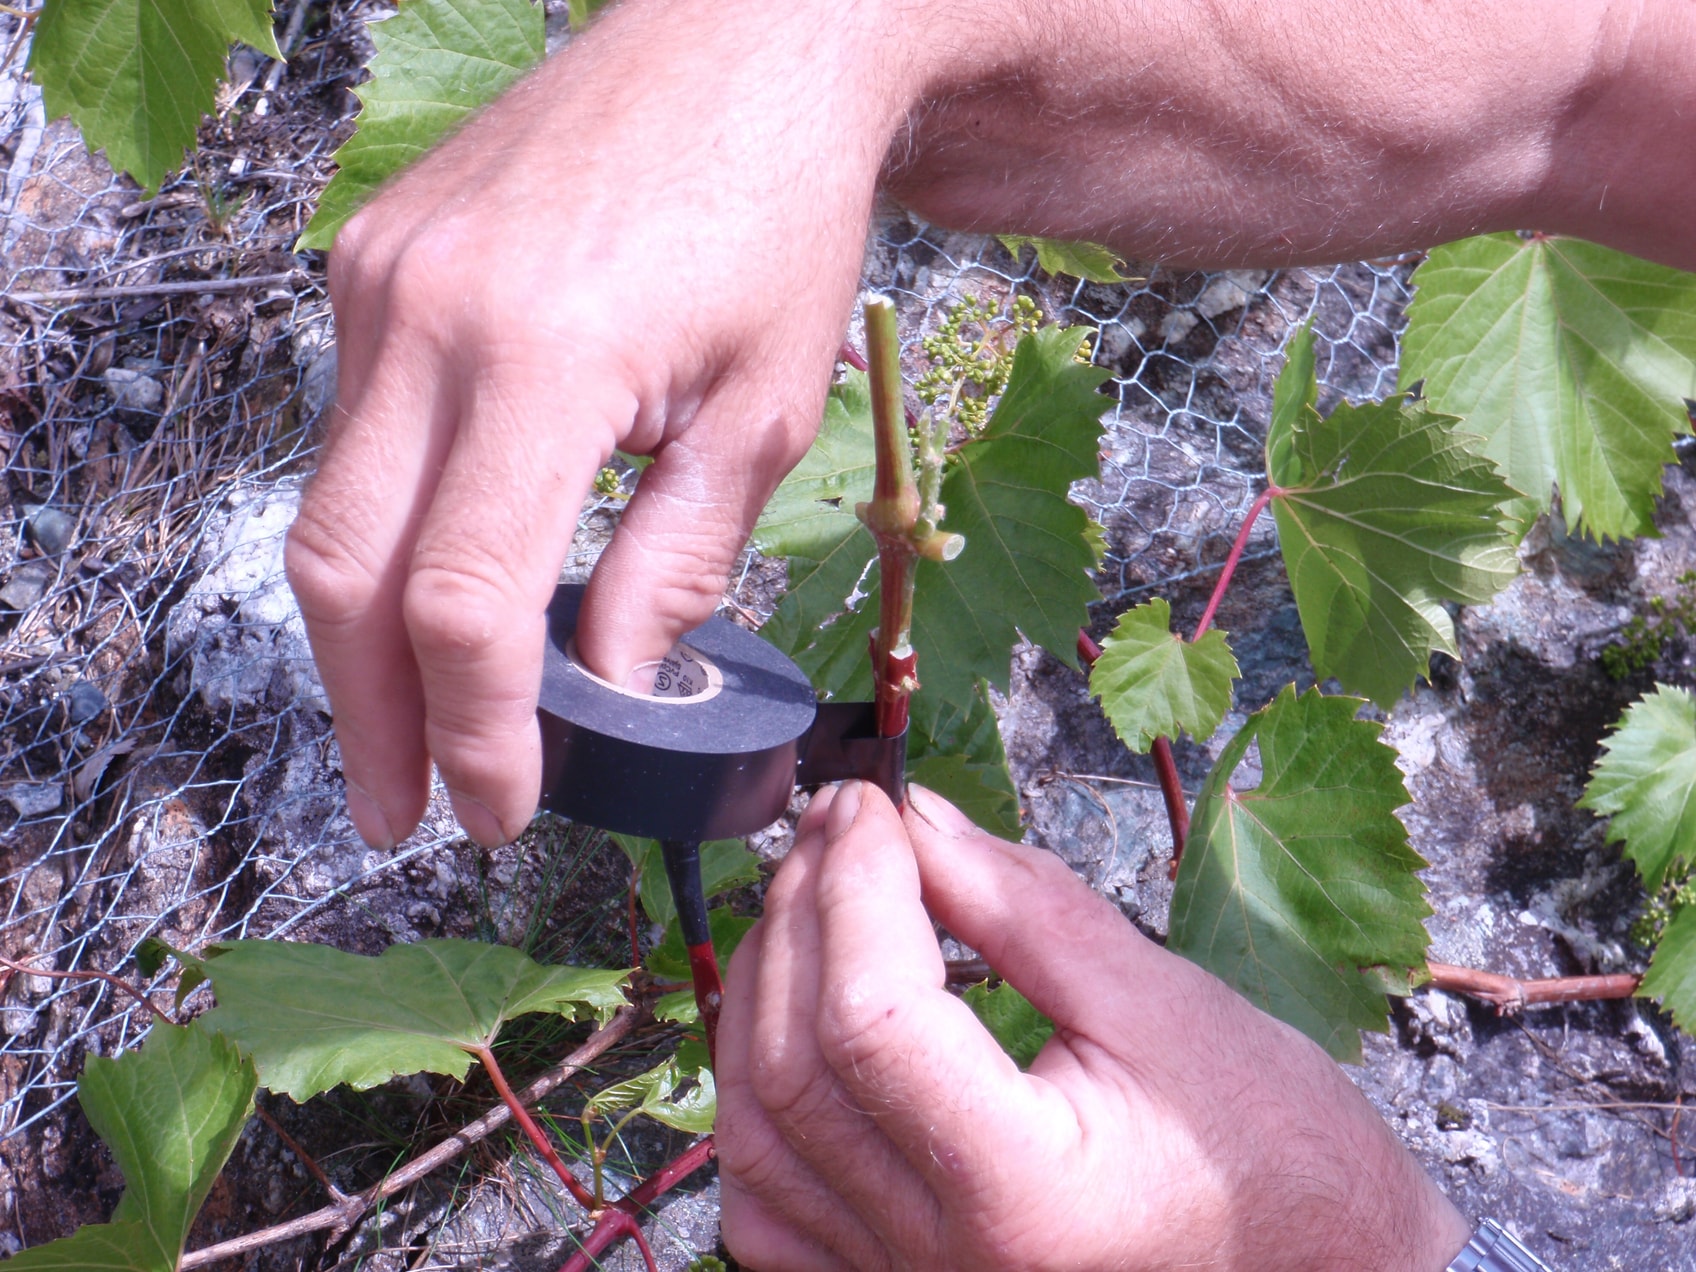
Figure: Result after a few weeks (one success, one failure)
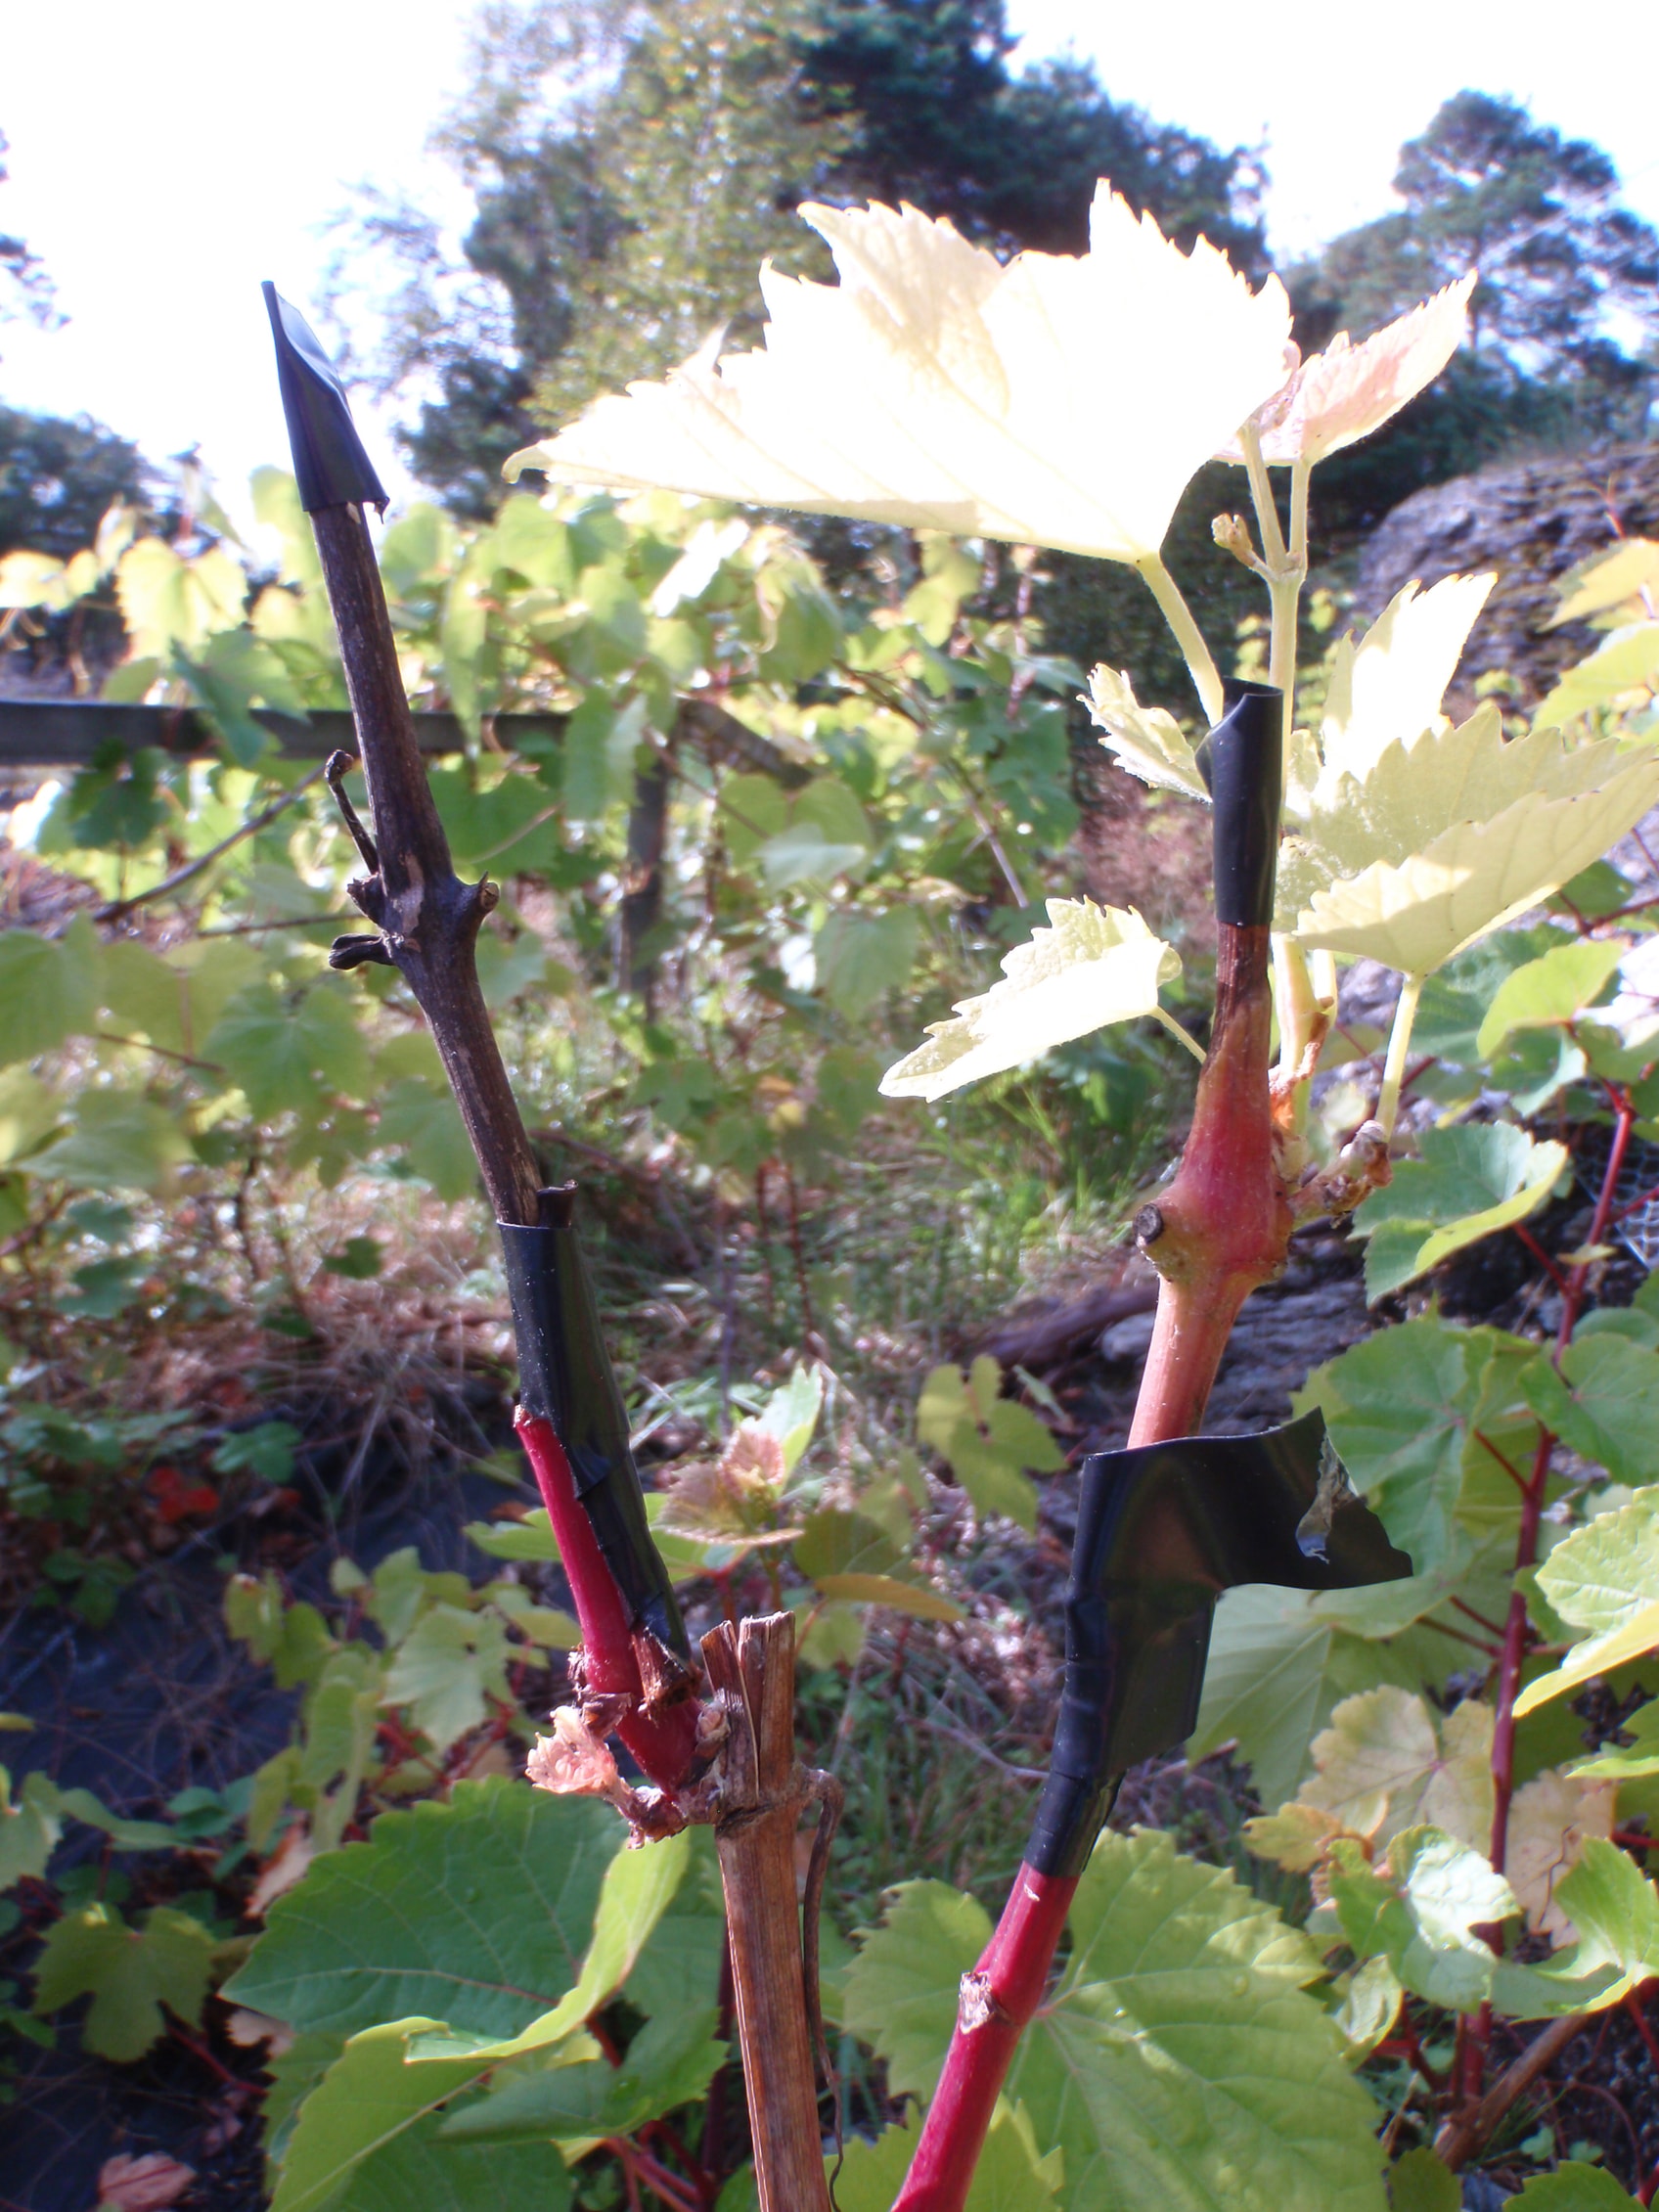
3. Grafting with Mature (Dormant) Wood
This can be performed in the same way, but there are different ways the pieces of wood can be joined together.
Figure: Side graft of a small scion onto rootstock
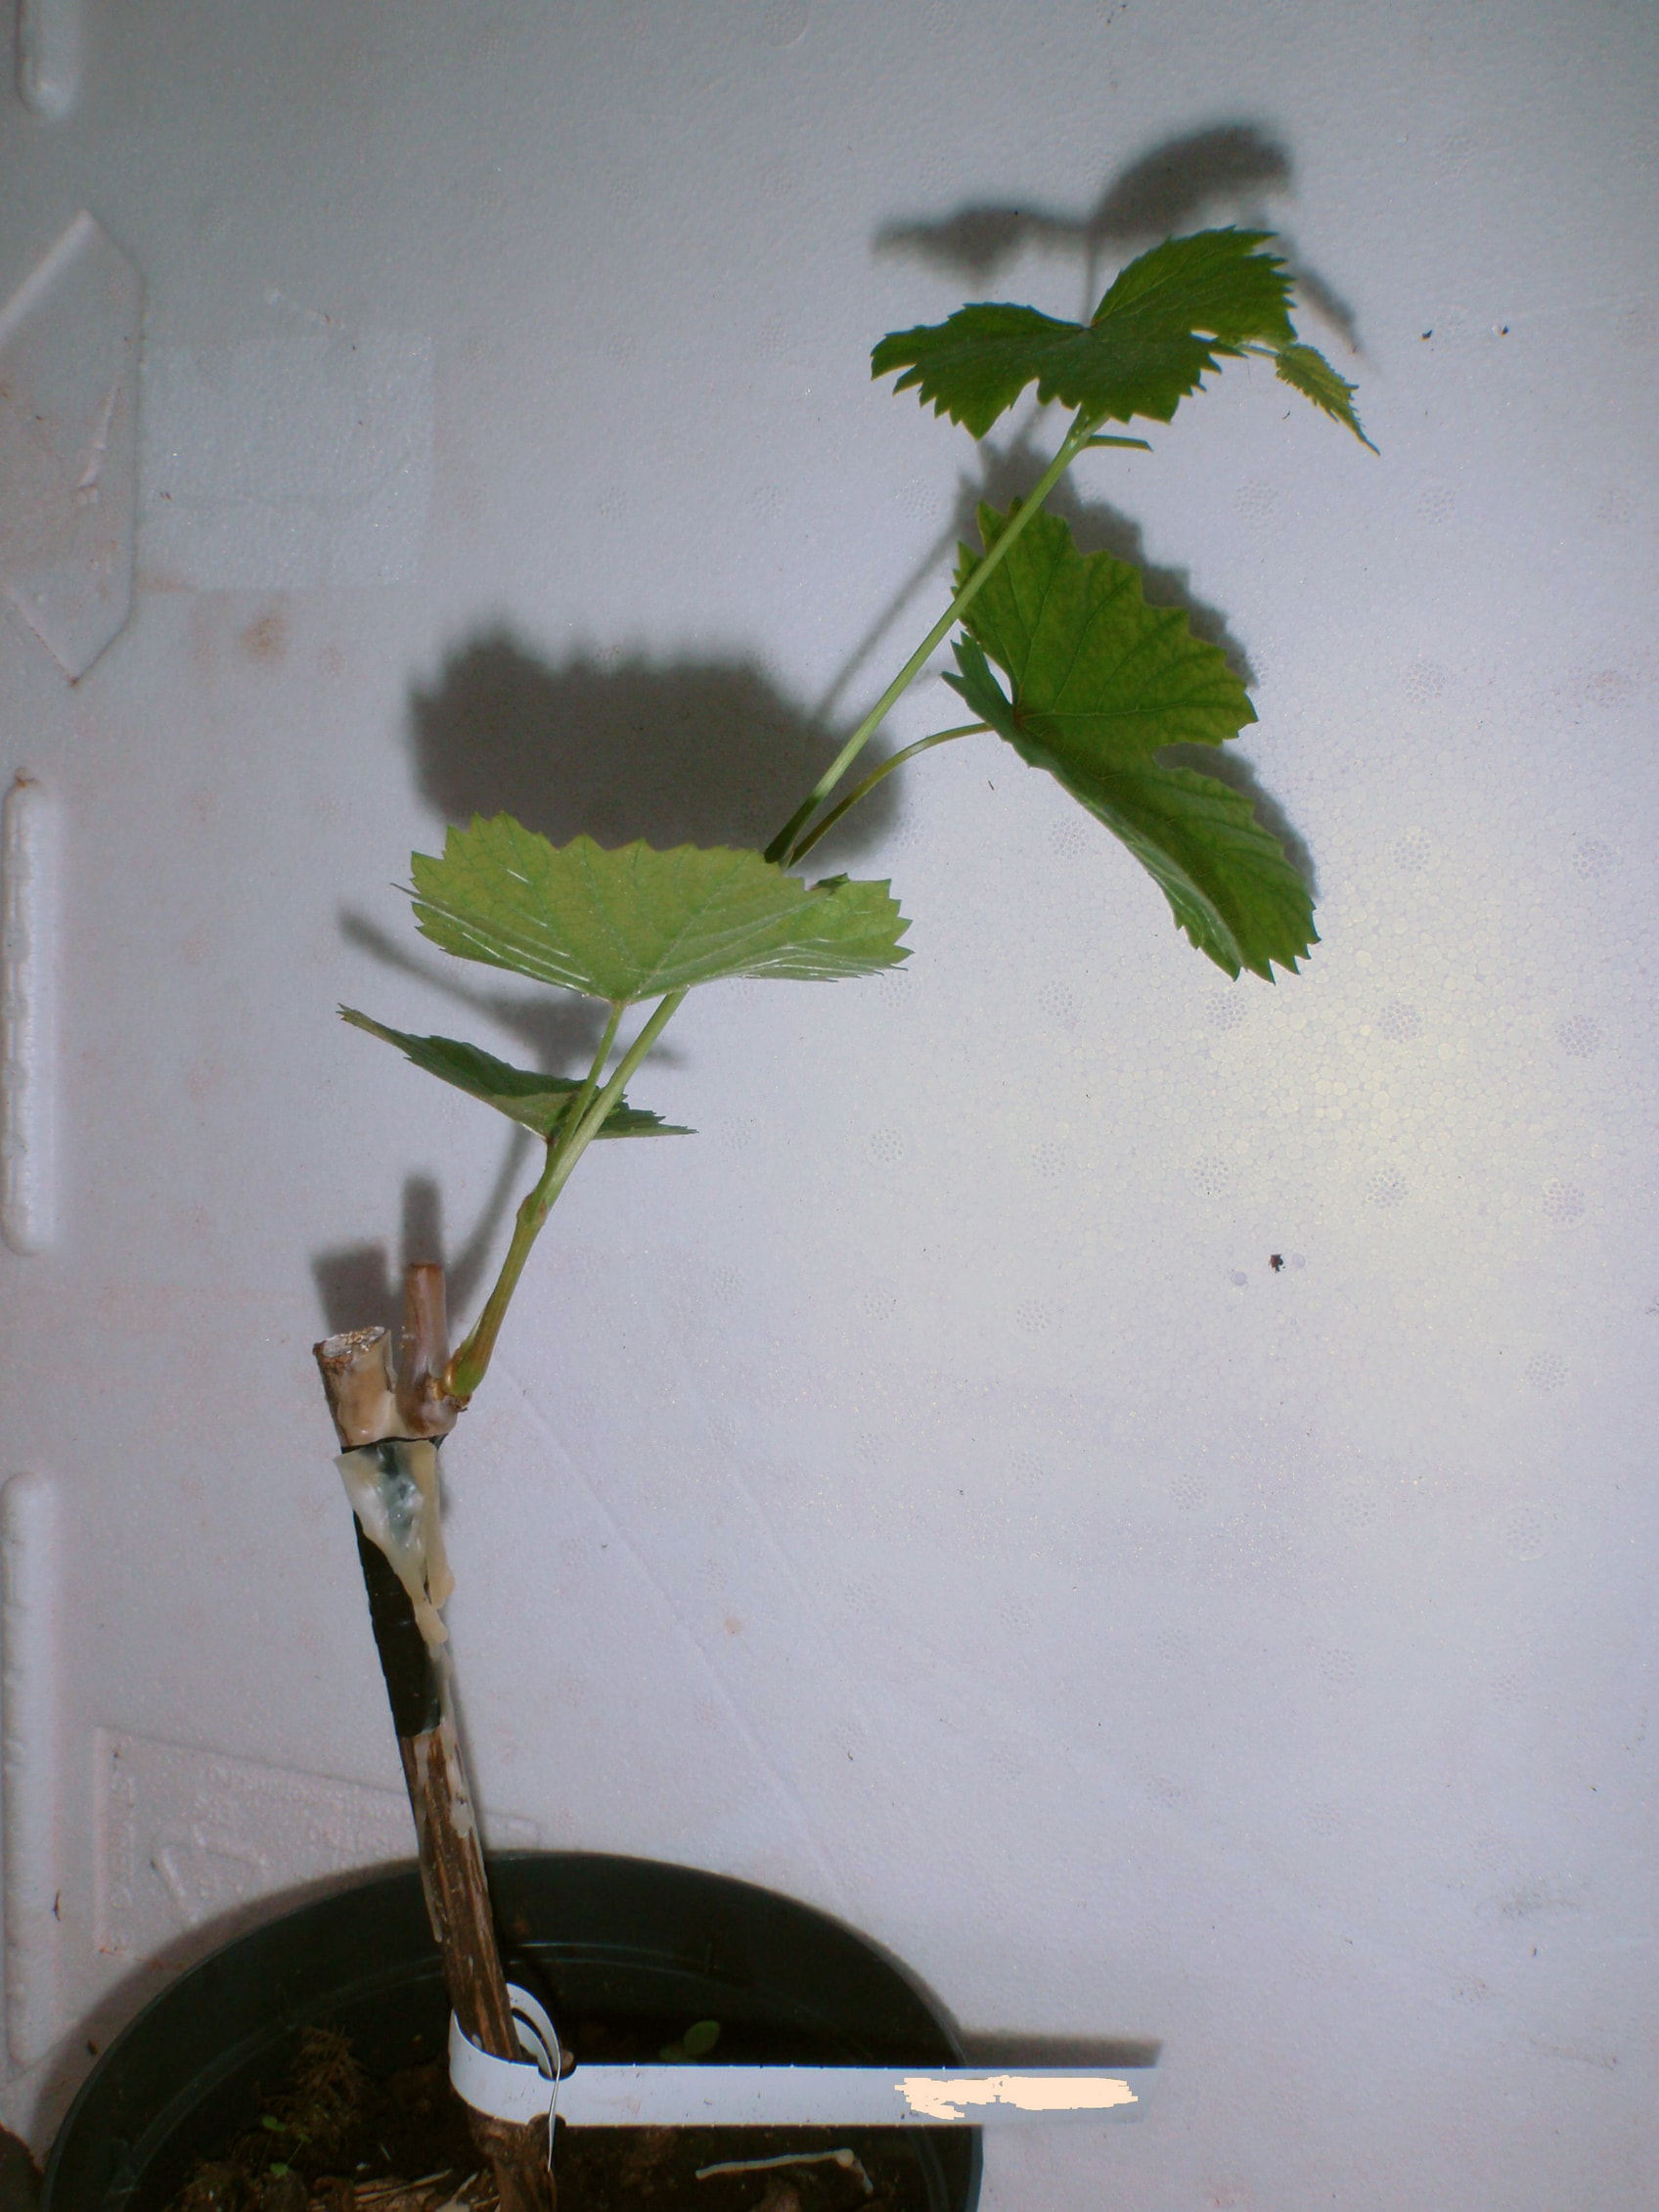
Figure: Side insertion on a lateral shoot + wax treatment (pair)
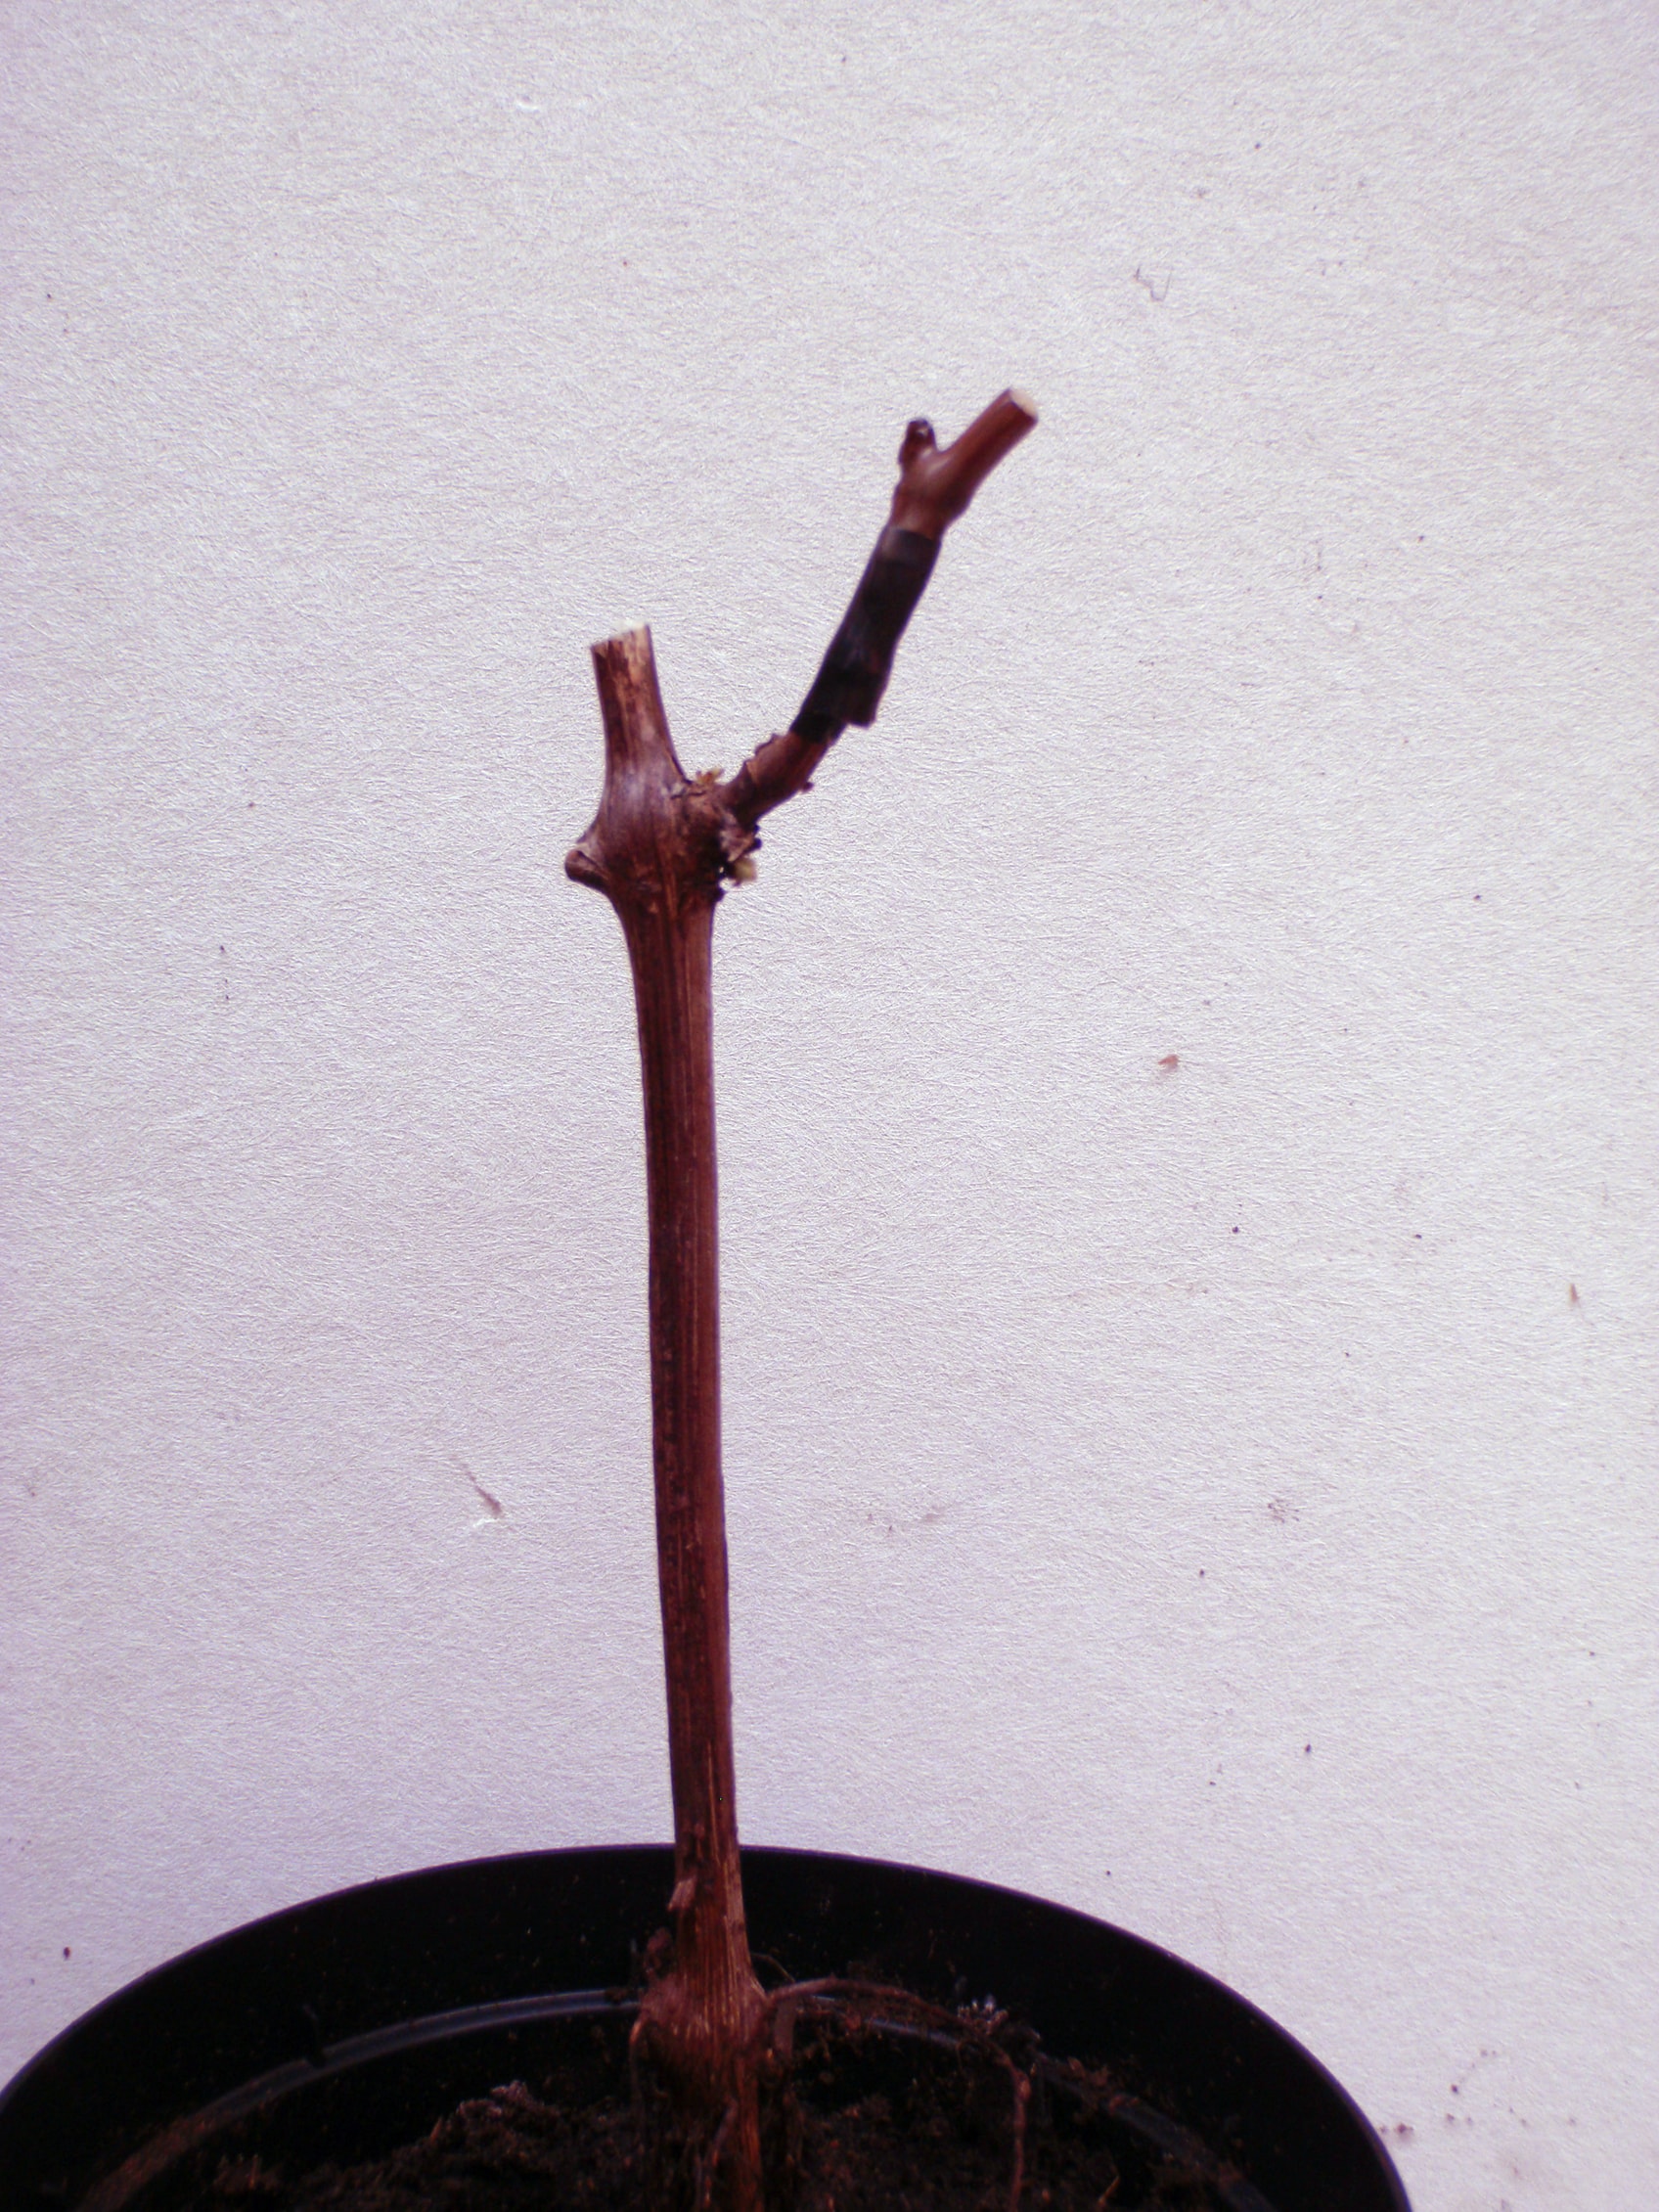
Figure: Scion grafted on top of the rootstock (pair)
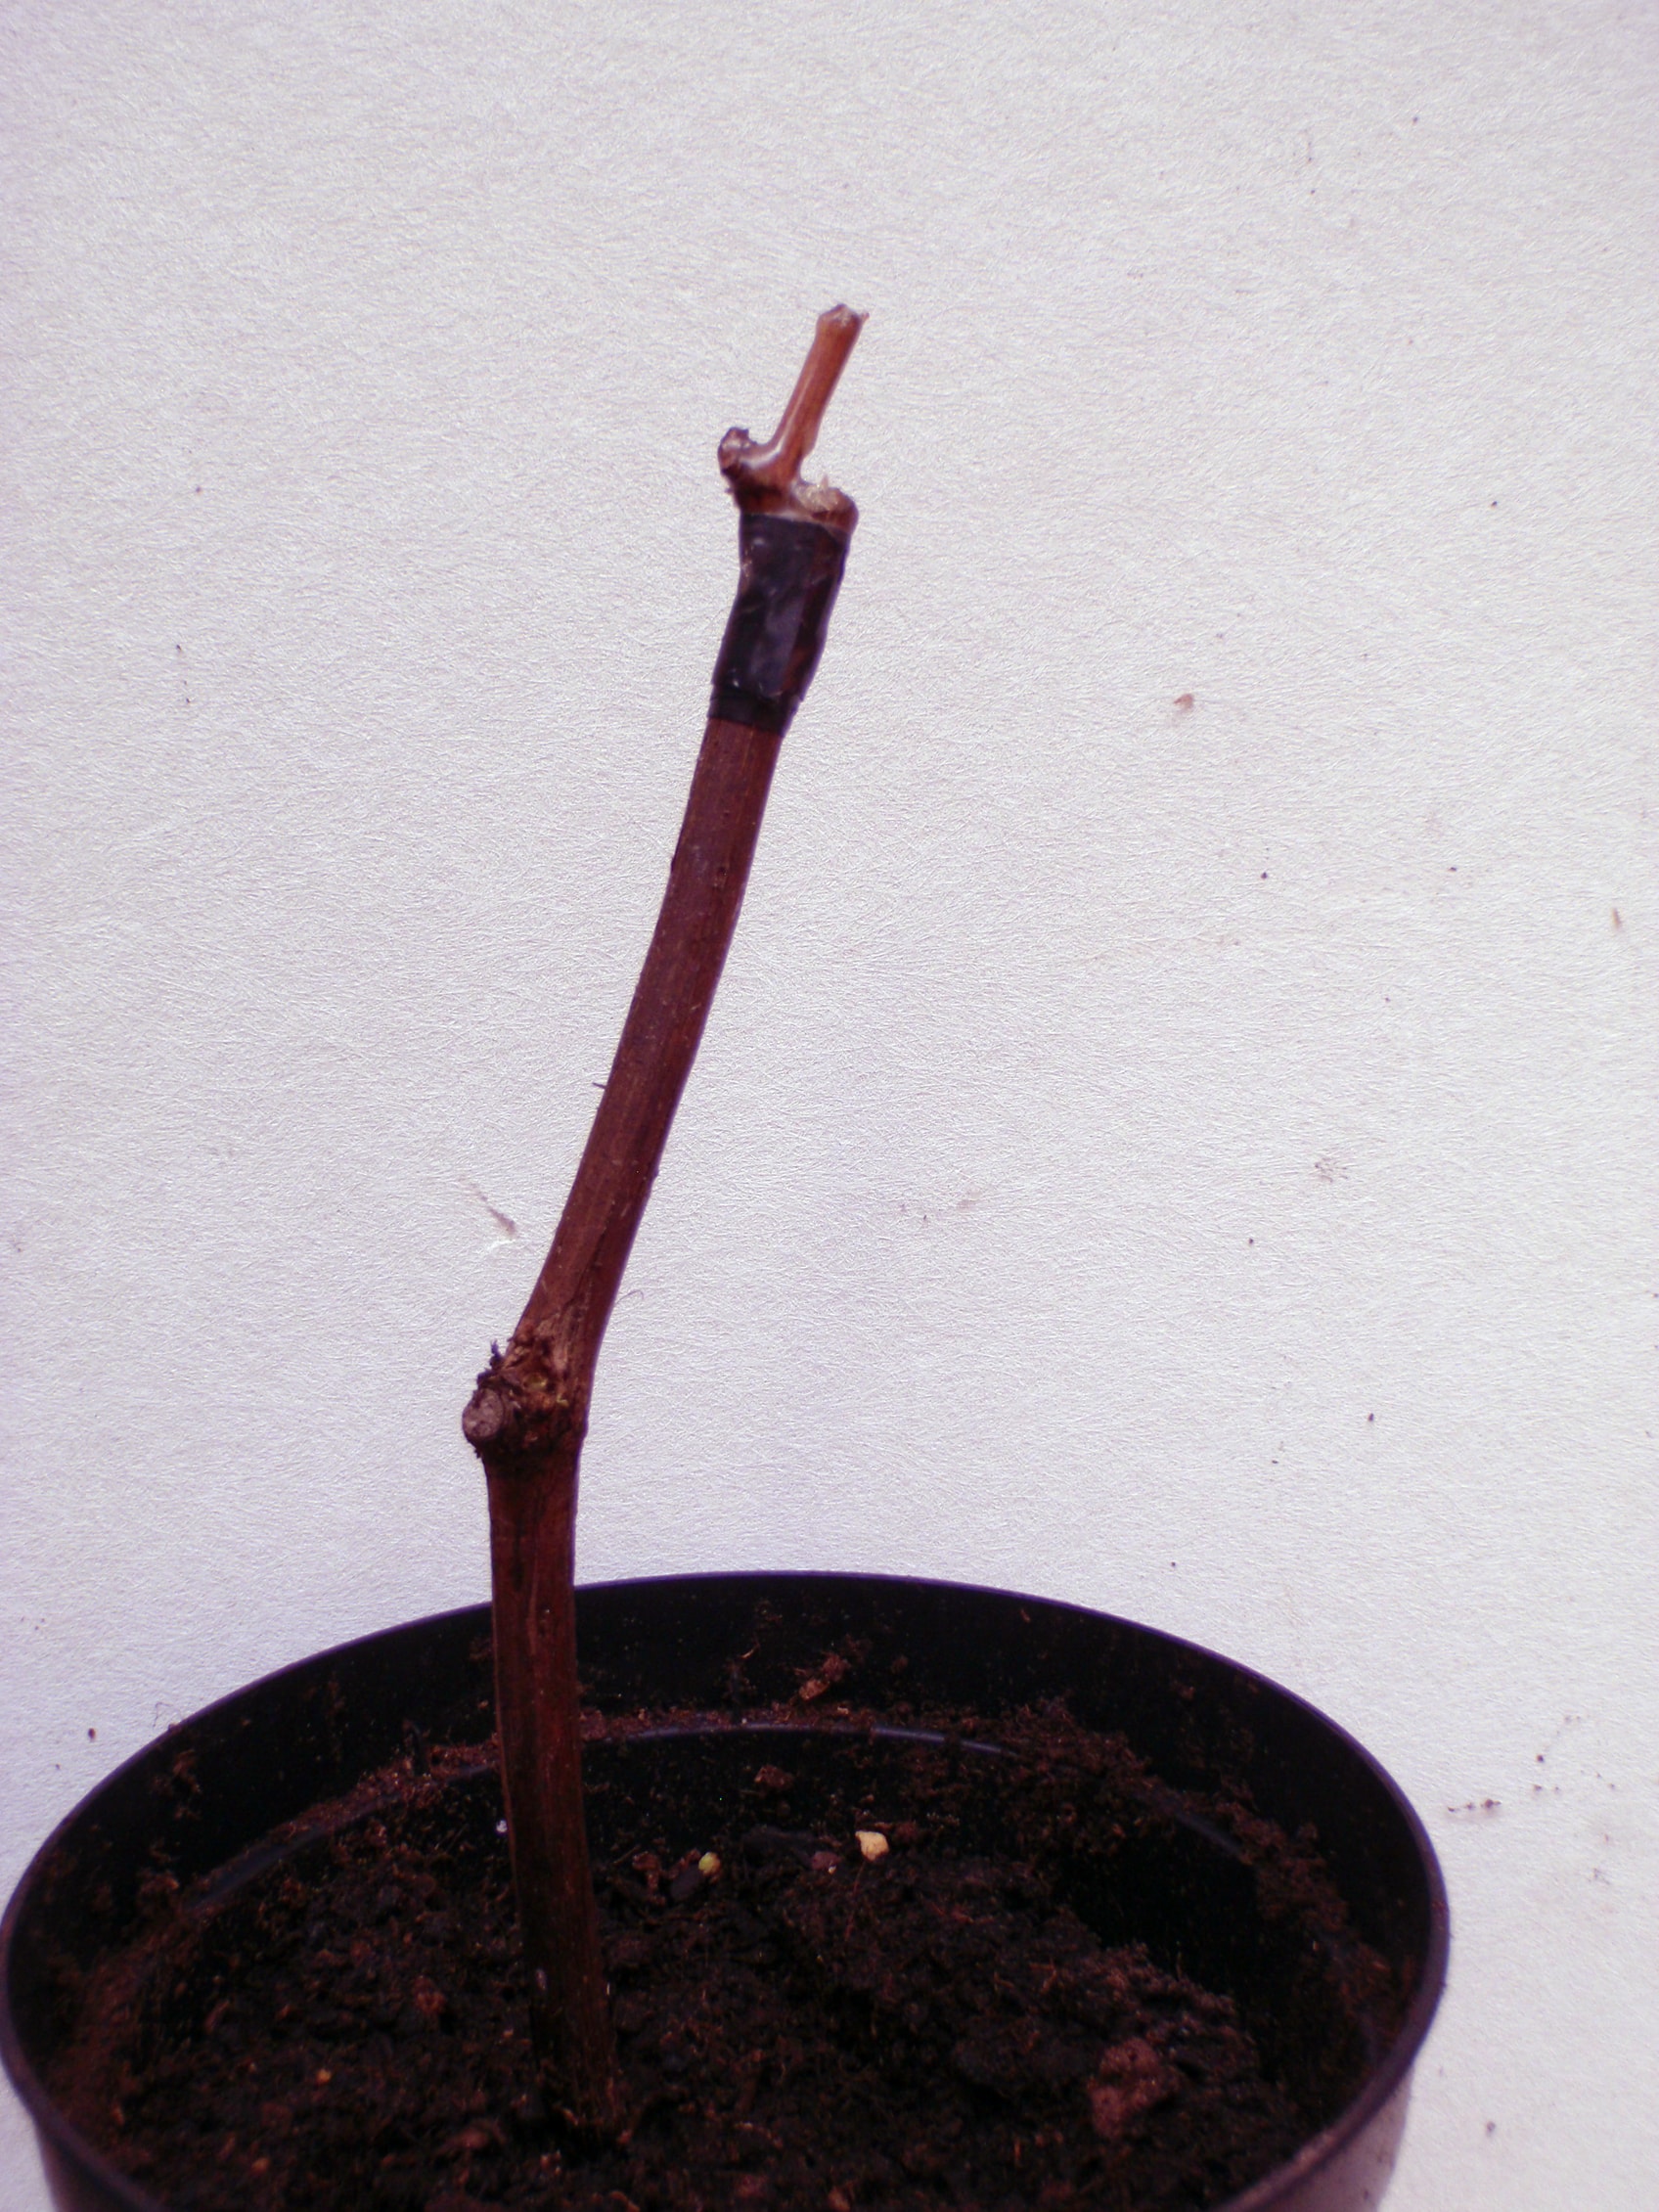
This type of grafting on grapevines requires good temperature to take. The method is therefore best suited to rooms with artificial heat or in a greenhouse.
Figure: Successful union after dormant wood grafting
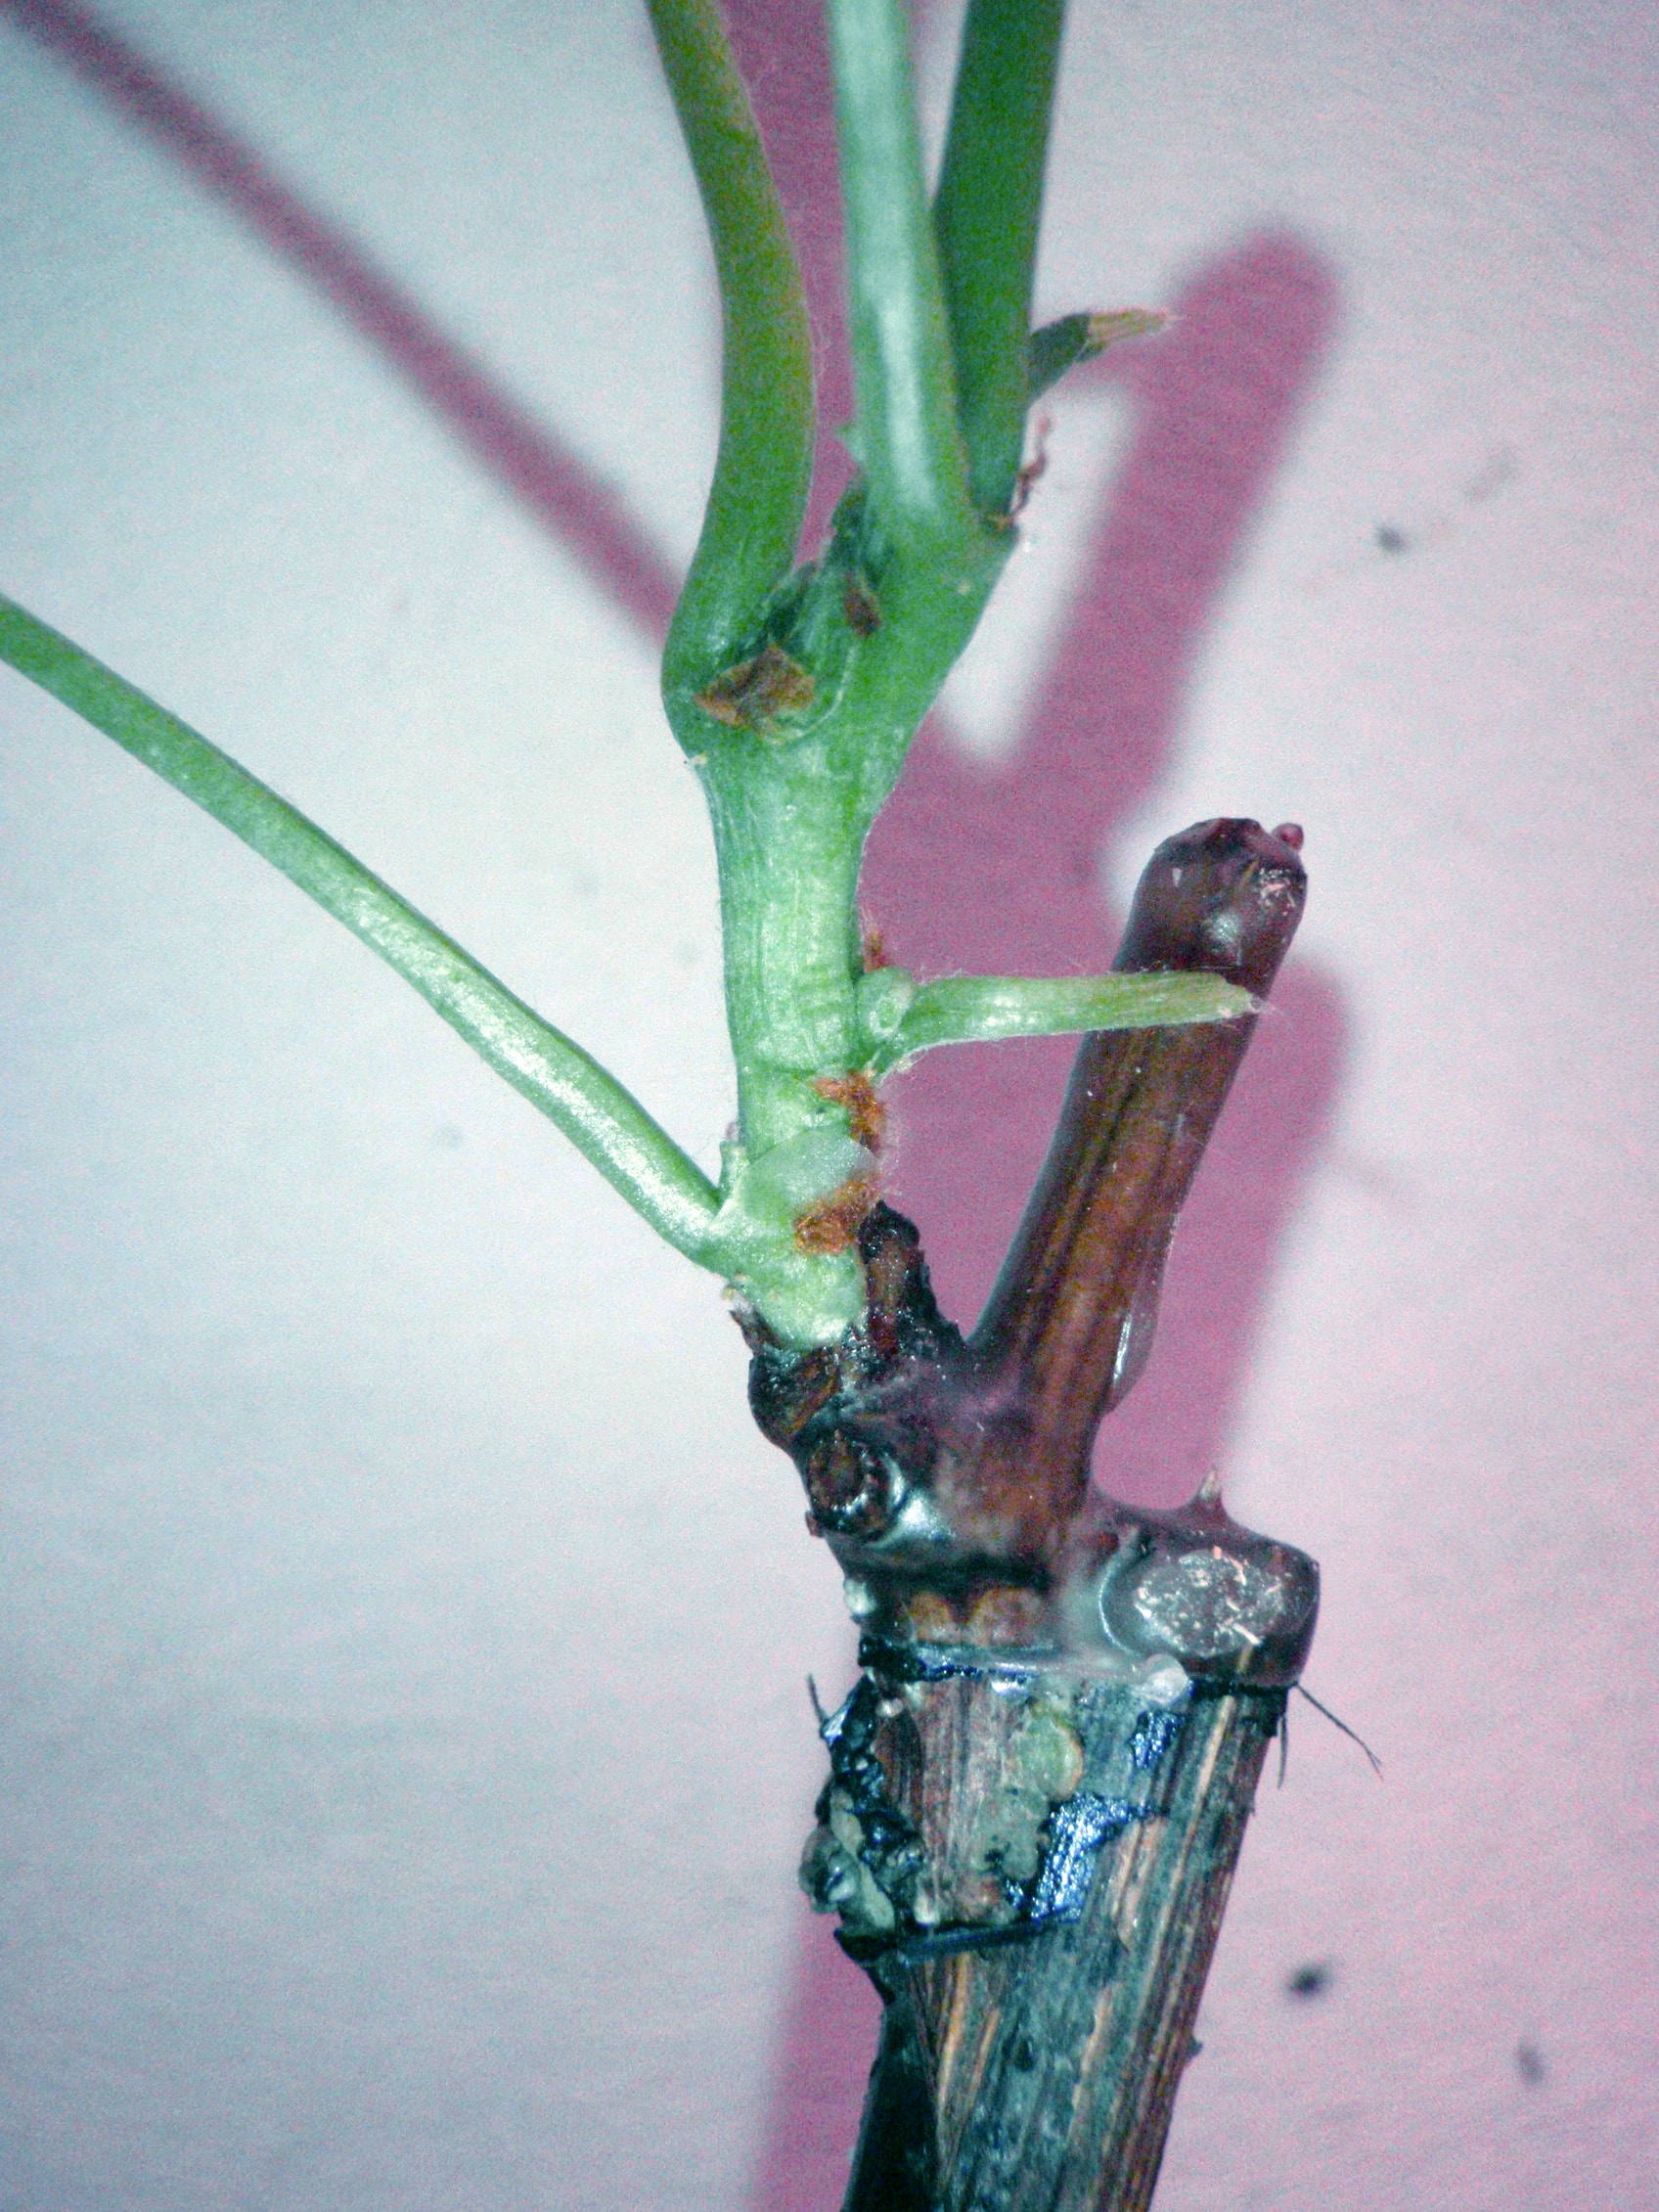
Grafting onto Hardy Rootstock
Hardy rootstock is used in all wine-producing countries where grapes of the species Vitis vinifera are grown. This is the original European wine grape species. It is highly susceptible to attack by the grape root louse. The American wild grape species are resistant to this louse. They are used (in various varieties) as rootstocks in Europe. This can be done in 2 ways. Either you can plant cuttings of the rootstock one year, and then graft the desired variety onto it the following spring (as shown in the photo above). Alternatively, you can graft the scion onto the rootstock and then place it on heat with sufficient moisture. I place them in moist sand in a transparent plastic container. Then callus will form where the graft wound is and the union is underway. Callus is plant tissue, and is the plant’s way of healing wounds. Callus will also form at the root end of the cutting. This will normally happen within 3 weeks. It can then be planted in soil with 40–50% sand or perlite. It can also be placed in a glass with 2 cm of water until it grows roots.
Figure: Grafted cuttings in moist sand on heat
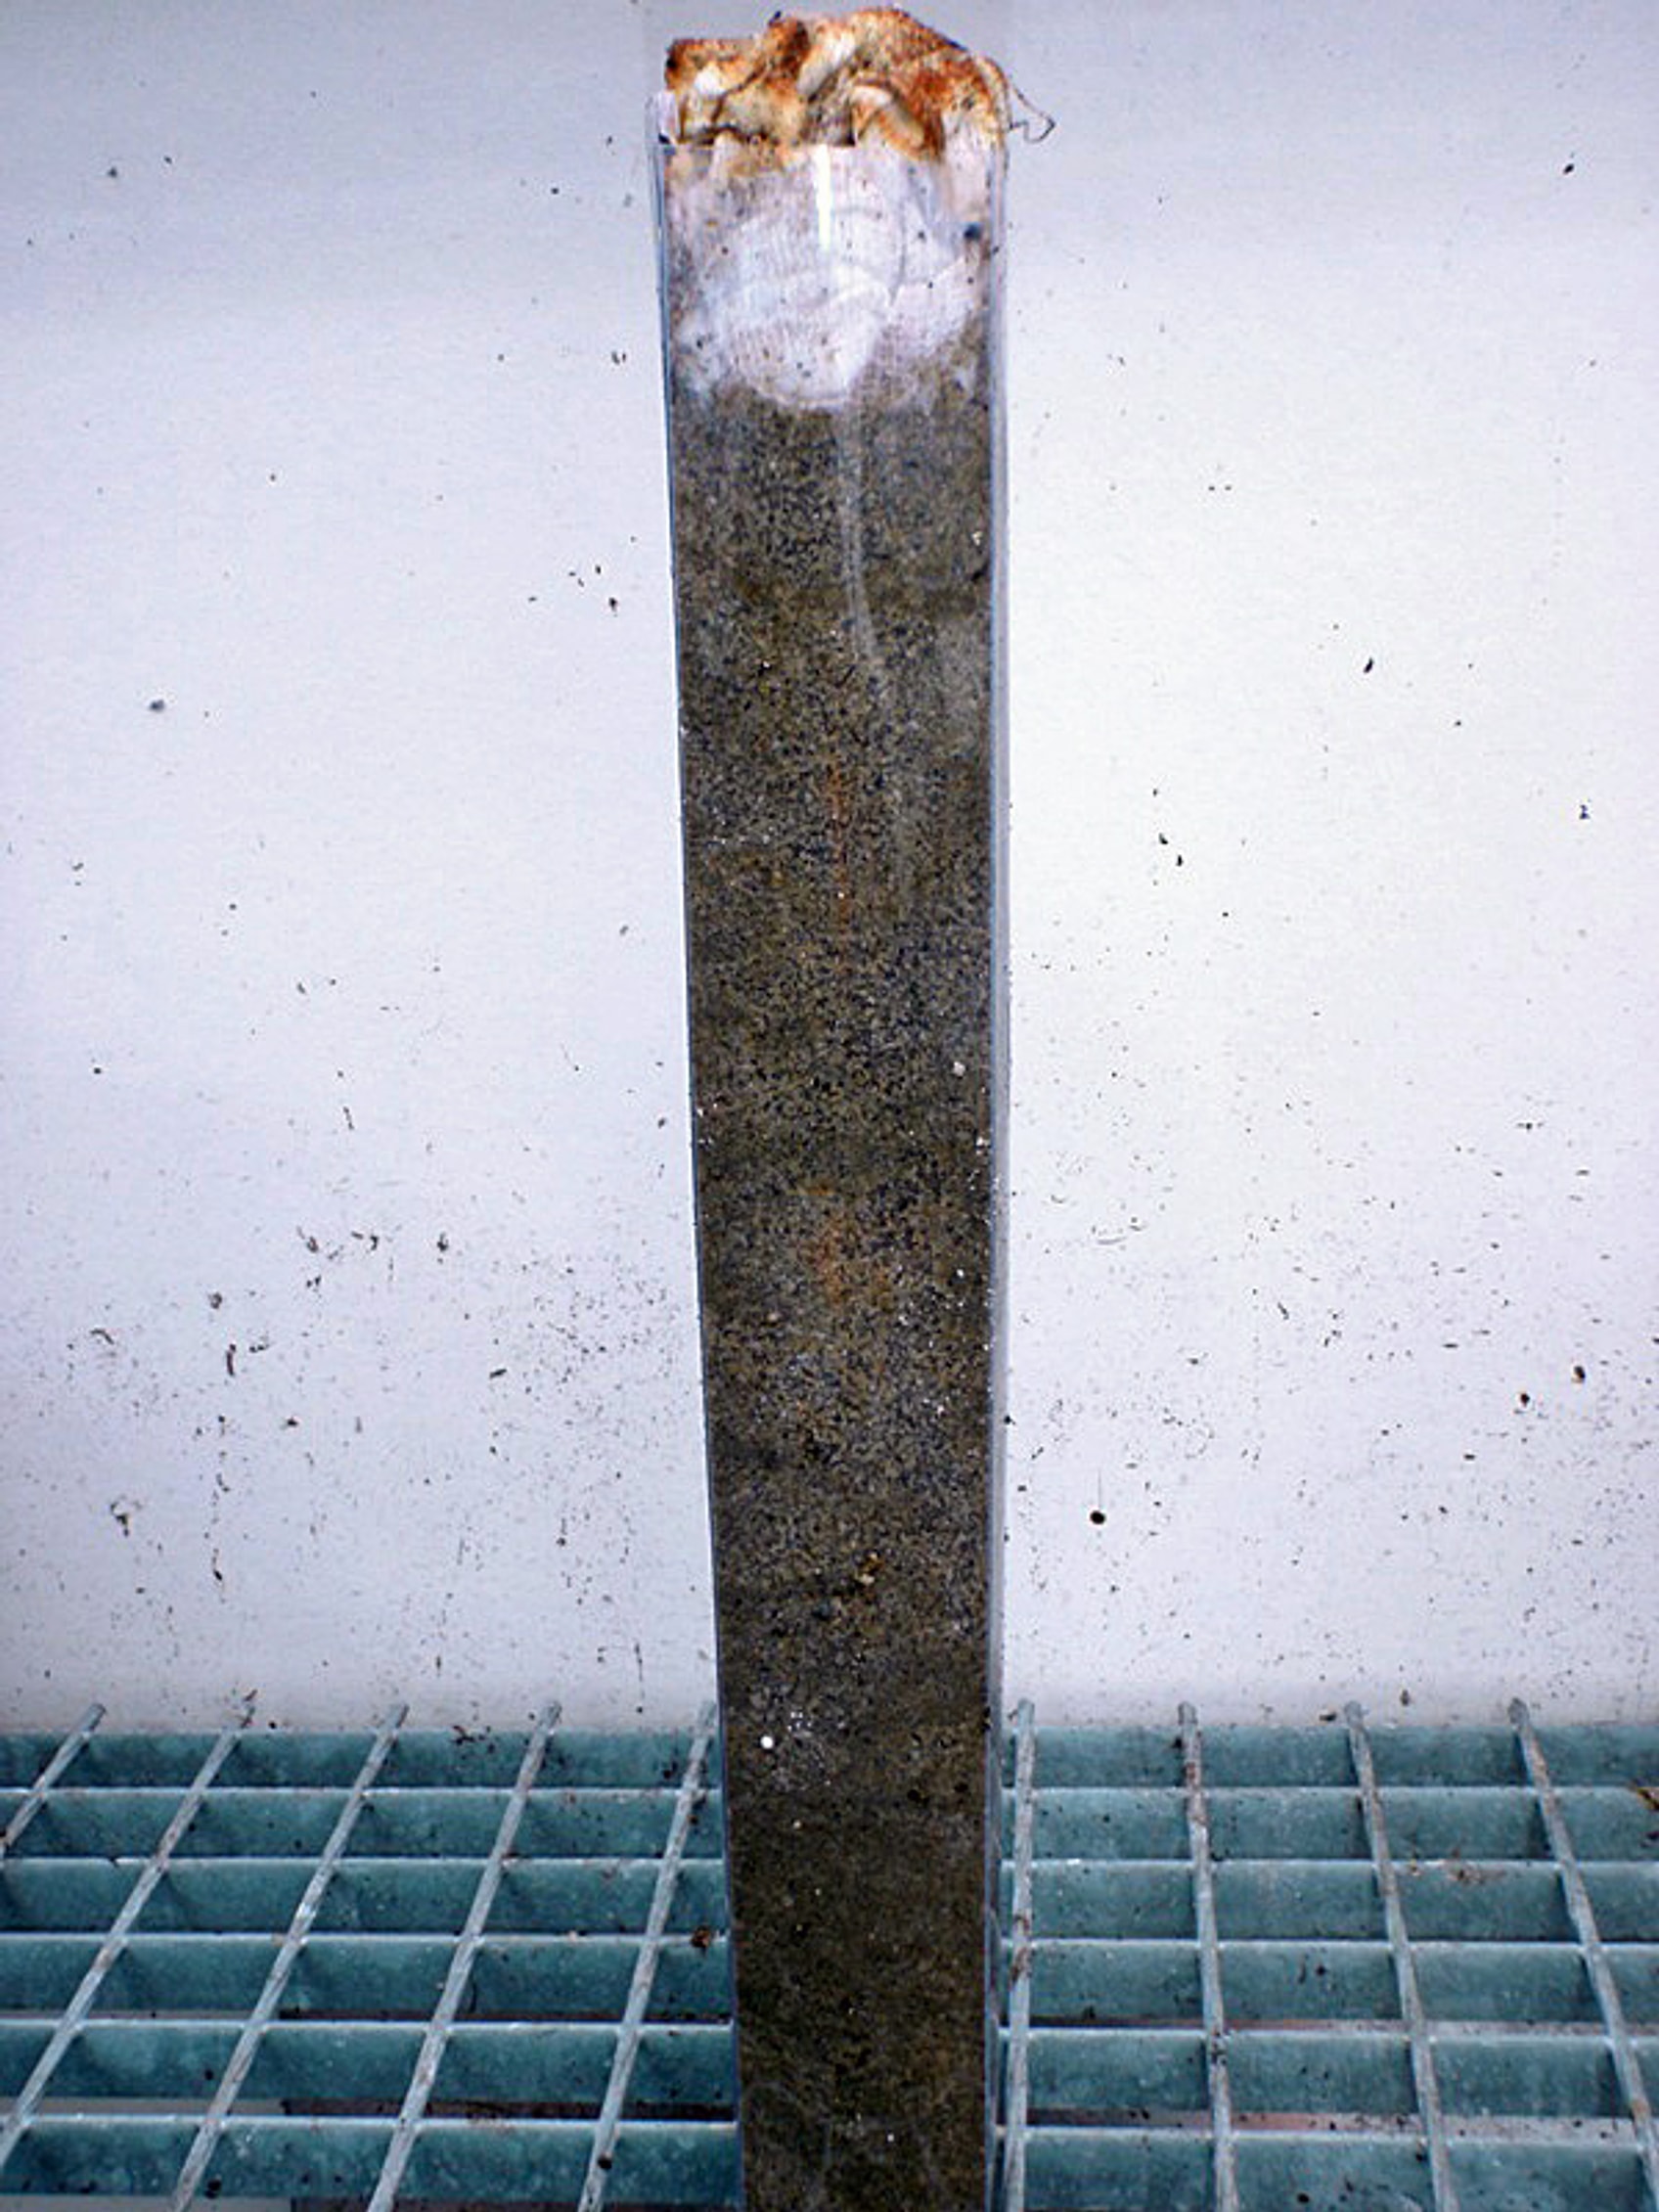
Figure: Callus at the root end
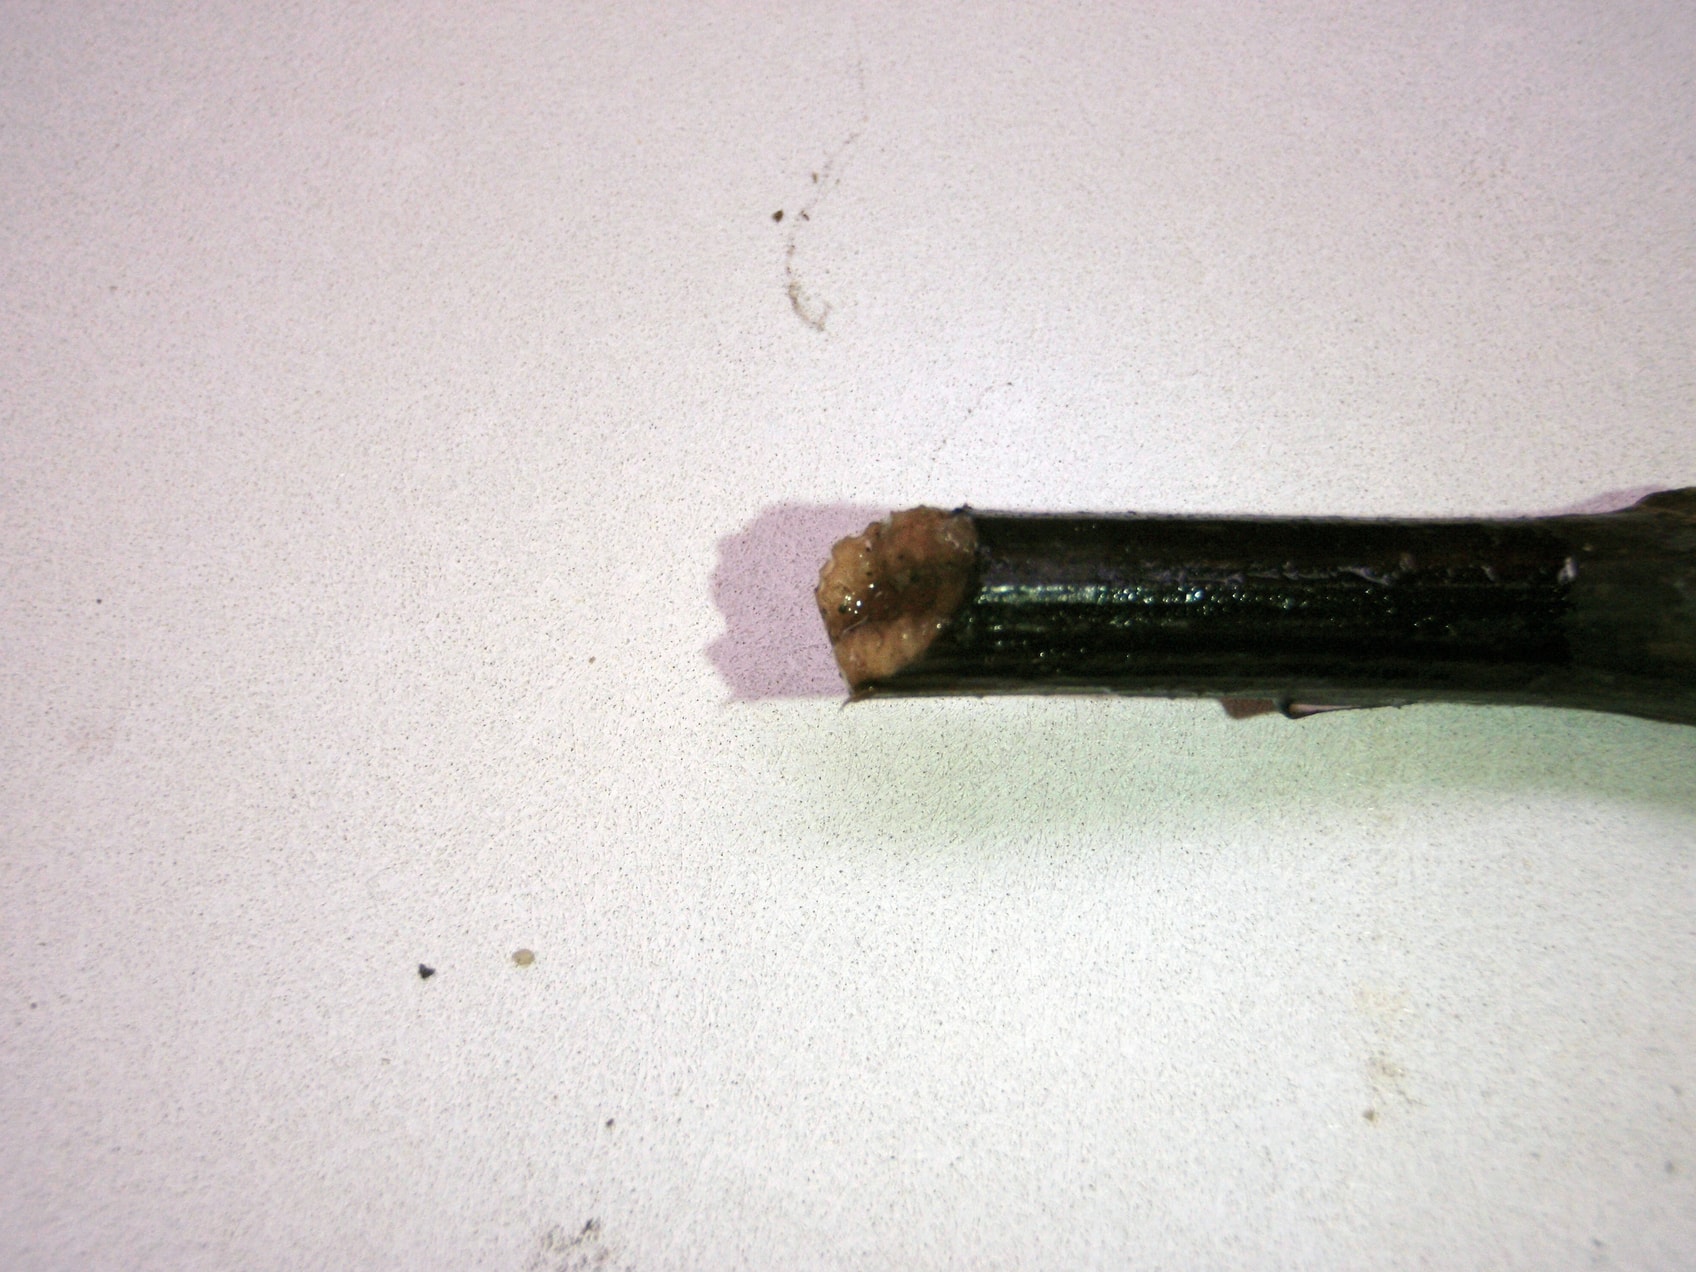
Figure: Callus formation over the grafting tape
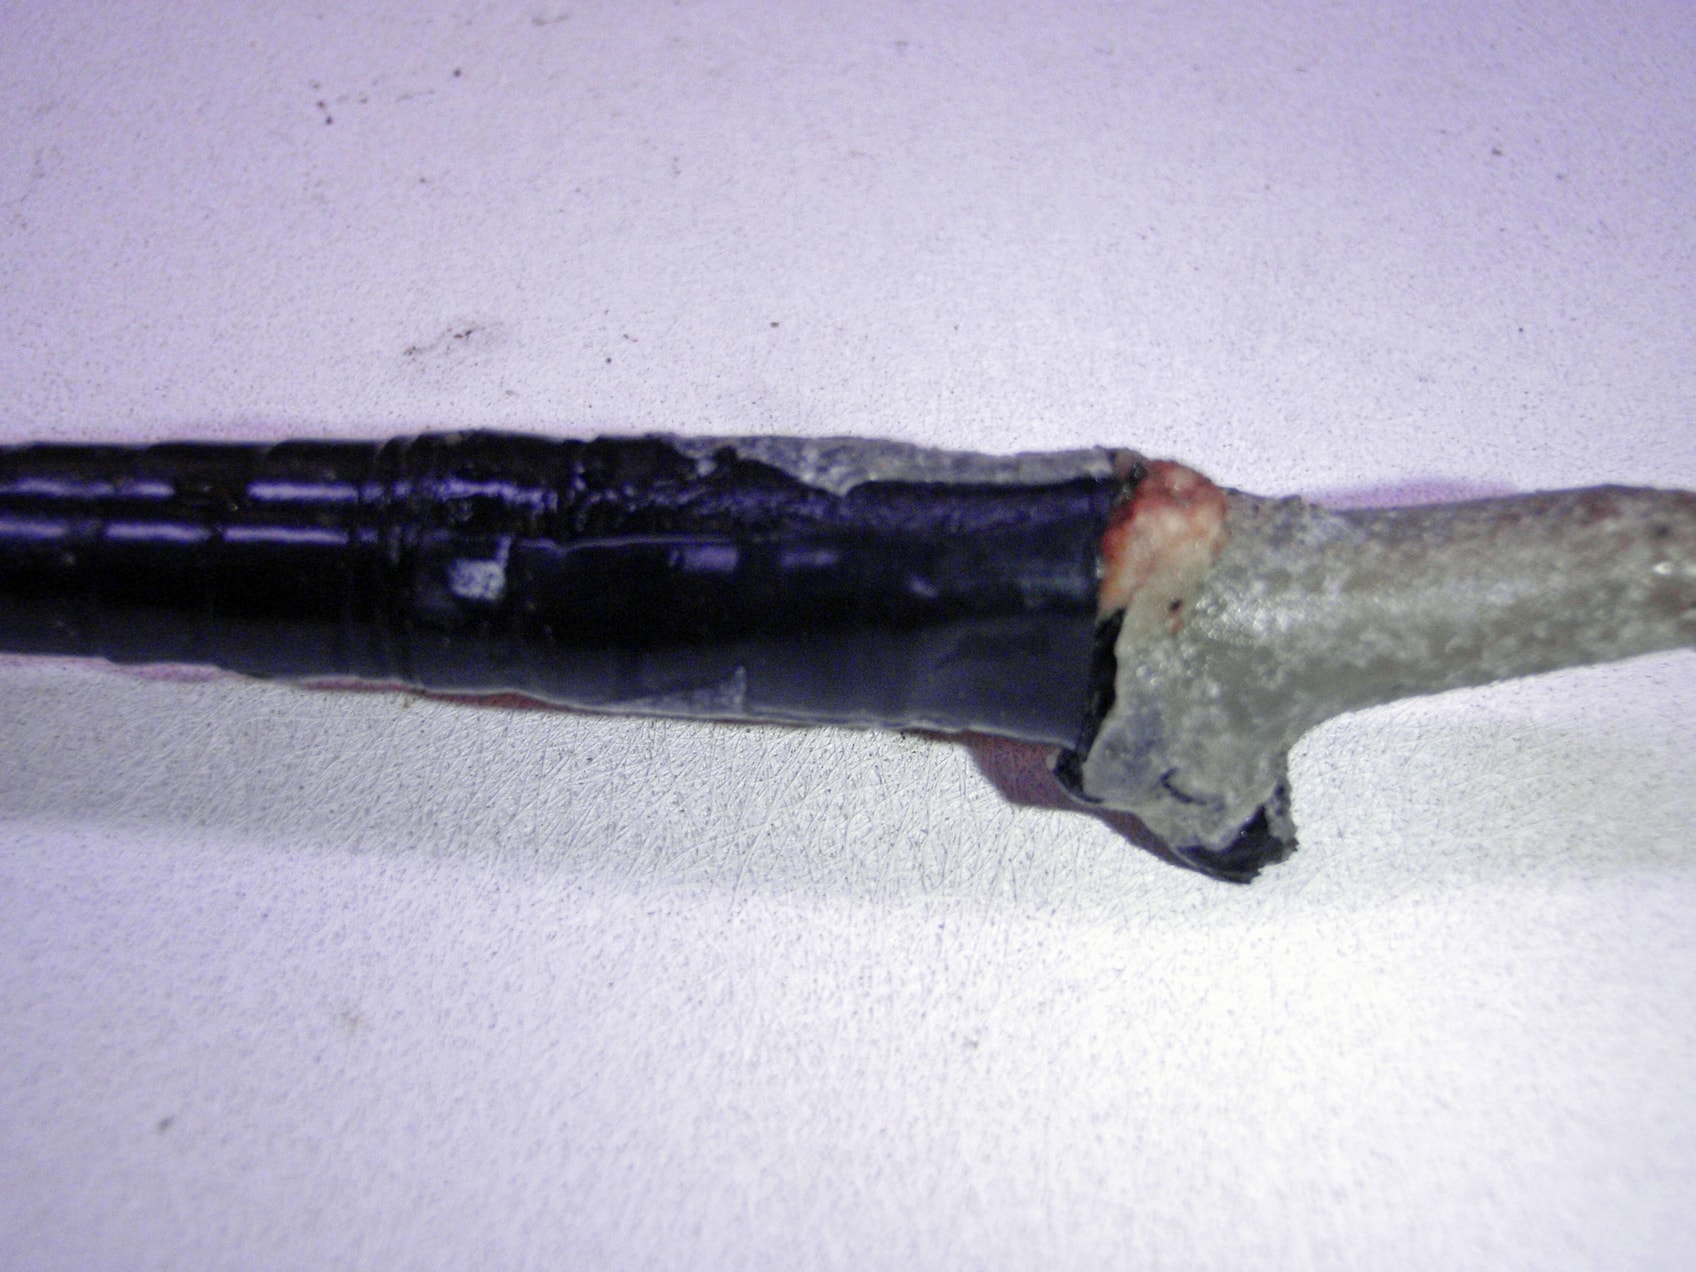
Callus is, as previously mentioned, the plant’s way of healing wounds, and it forms both where the roots are to emerge and between two wound surfaces on plants during grafting. During grafting, callus splices the two pieces of wood together. Good luck!