Pruning
Author: Knut Sætrevik
Pruning should as a general rule be carried out while the plant is dormant. This is done to avoid the plant bleeding heavily. On the west coast, pruning should be performed between December and March 1st.
First Winter
In the first winter it is often wise to cut right back to where the shoot has started to grow, above the 2nd bud, at the stronger cutting, or where it is grafted onto the rootstock.
Figure: 1st winter / spring
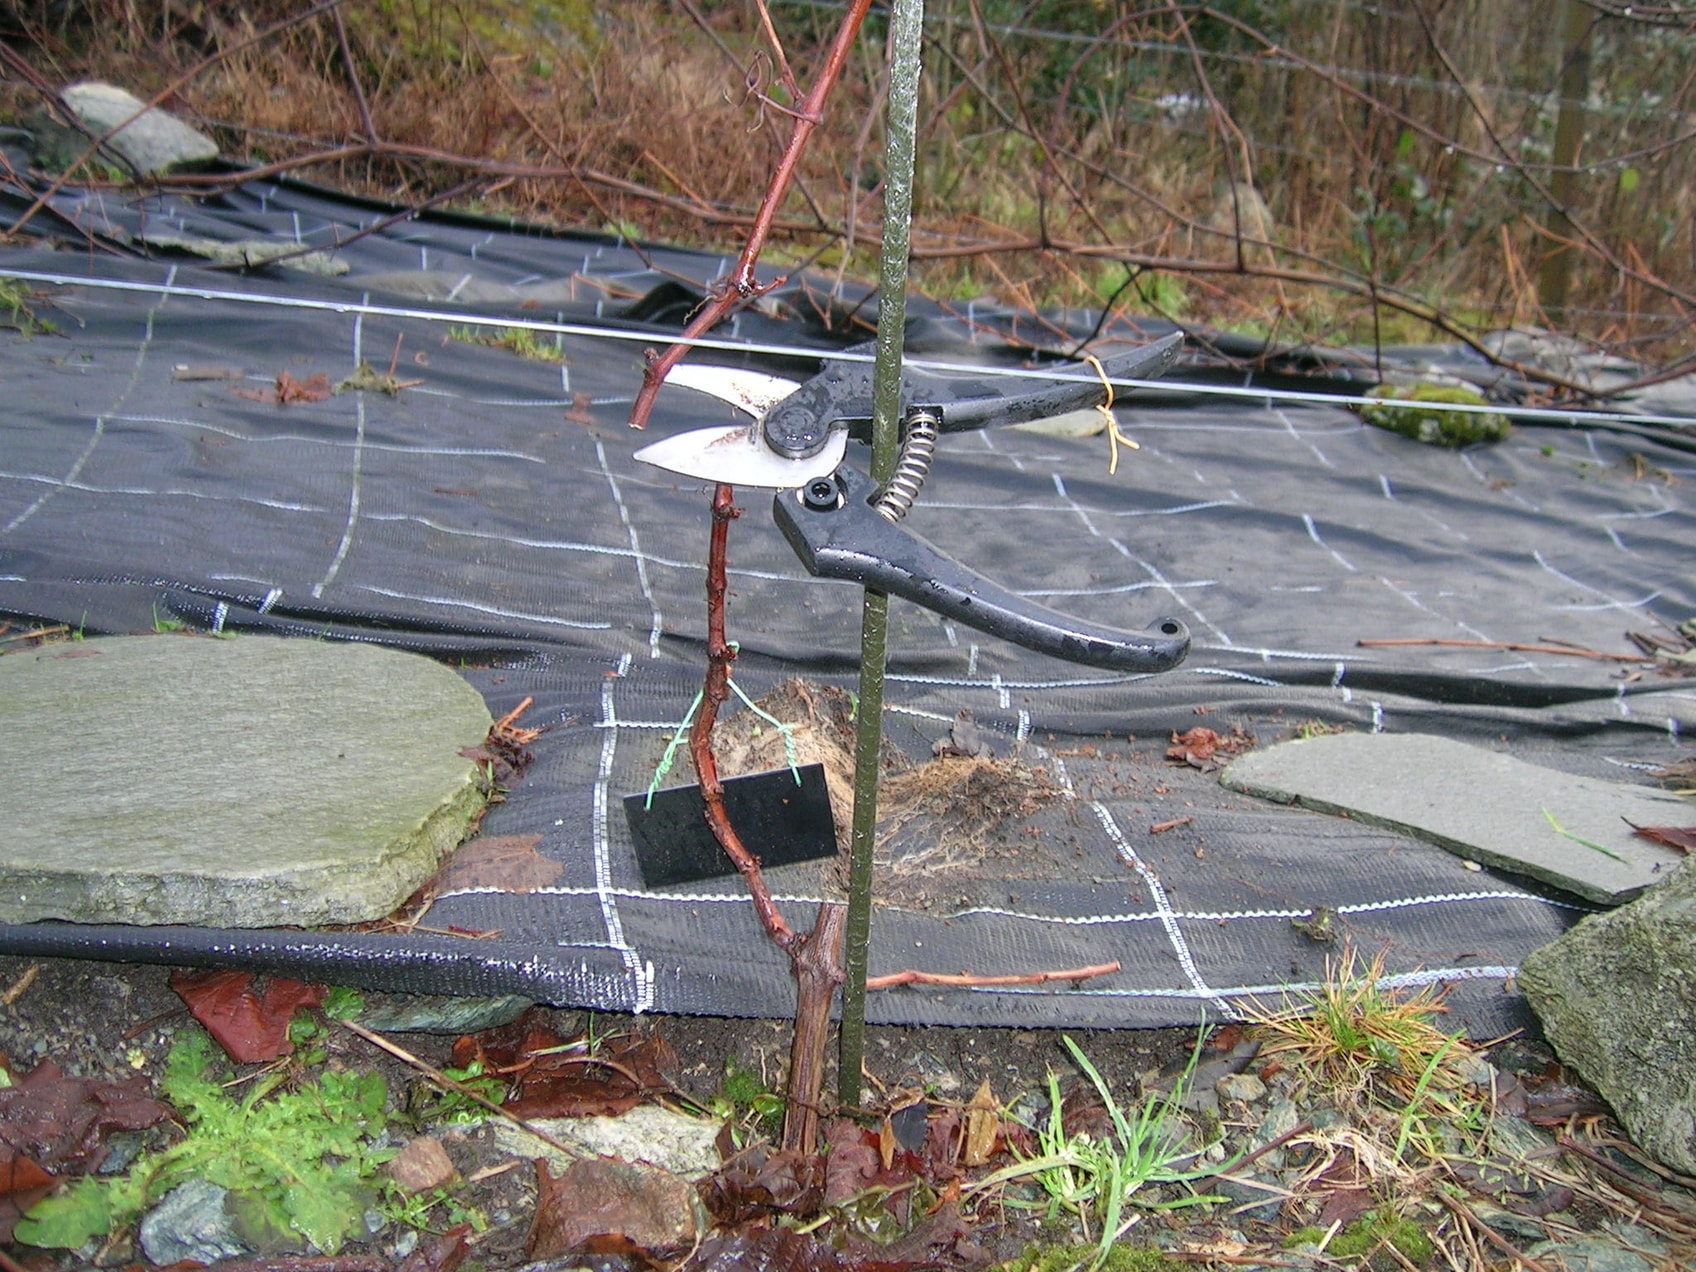
The two shoots on this plant grew so well in the second season that it is possible to retain 3 buds on each of the shoots.
Figure: 2nd winter / spring
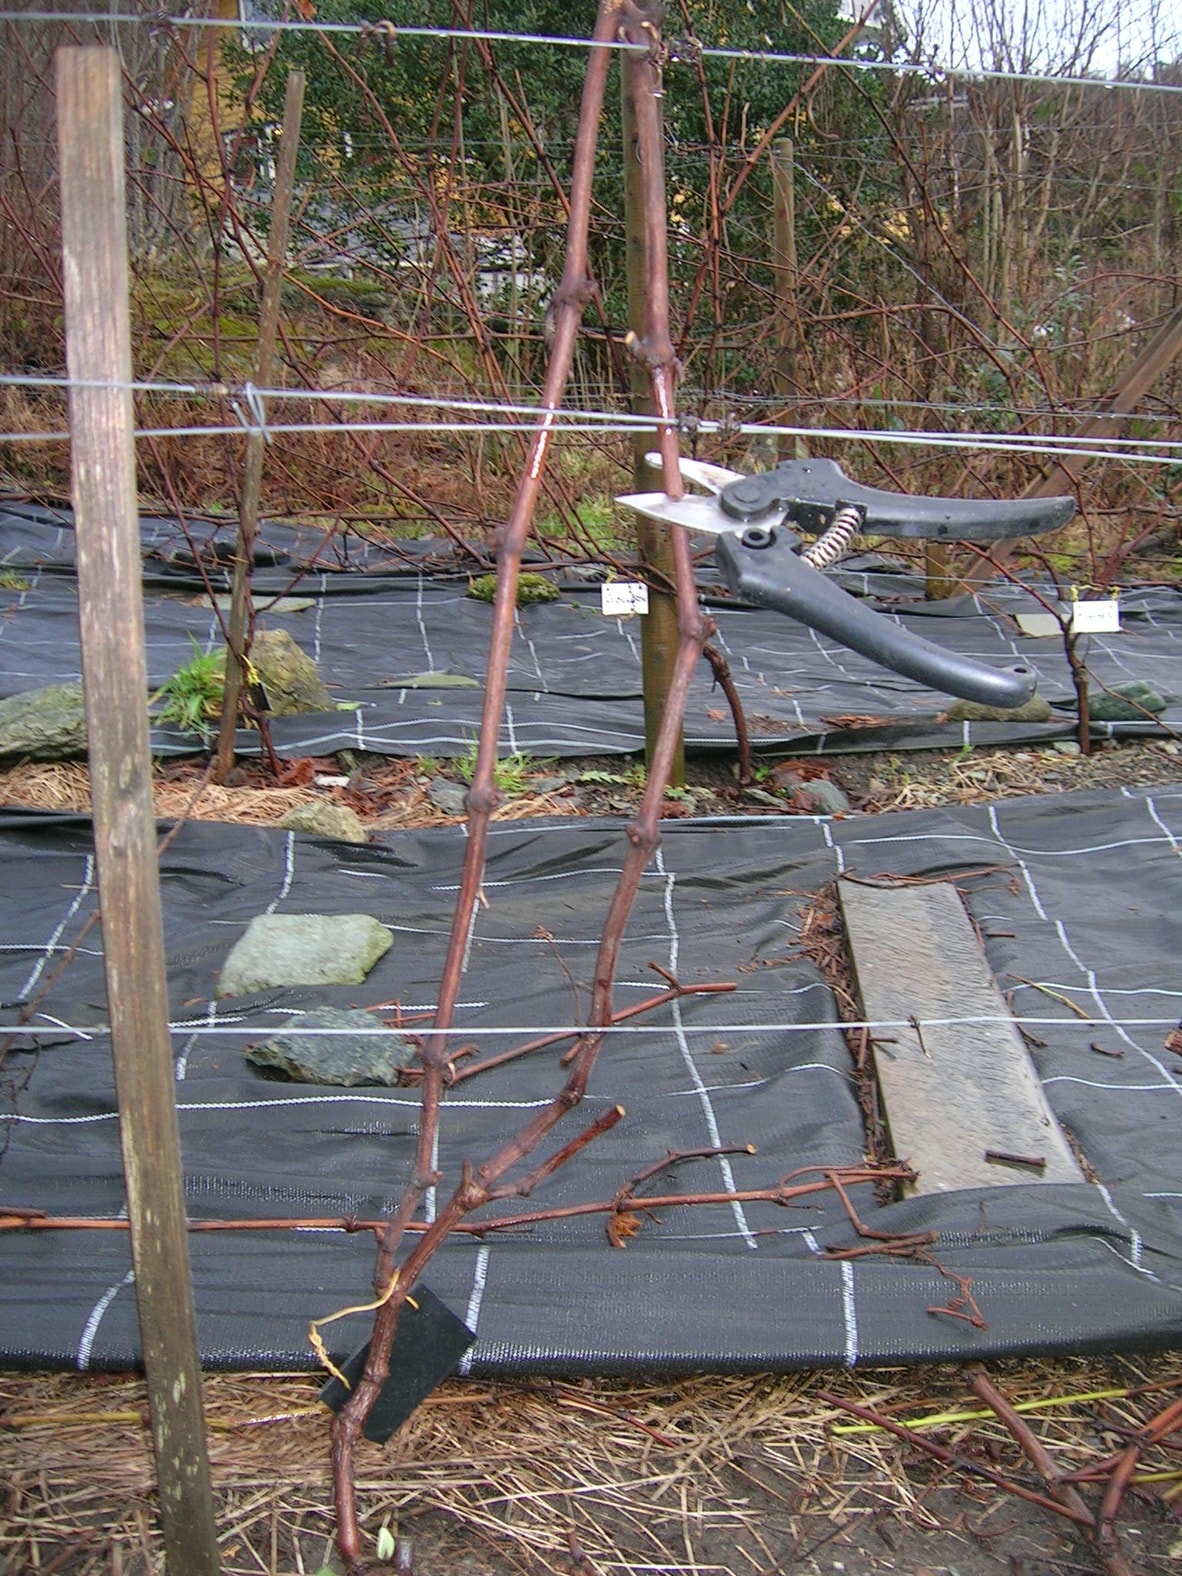
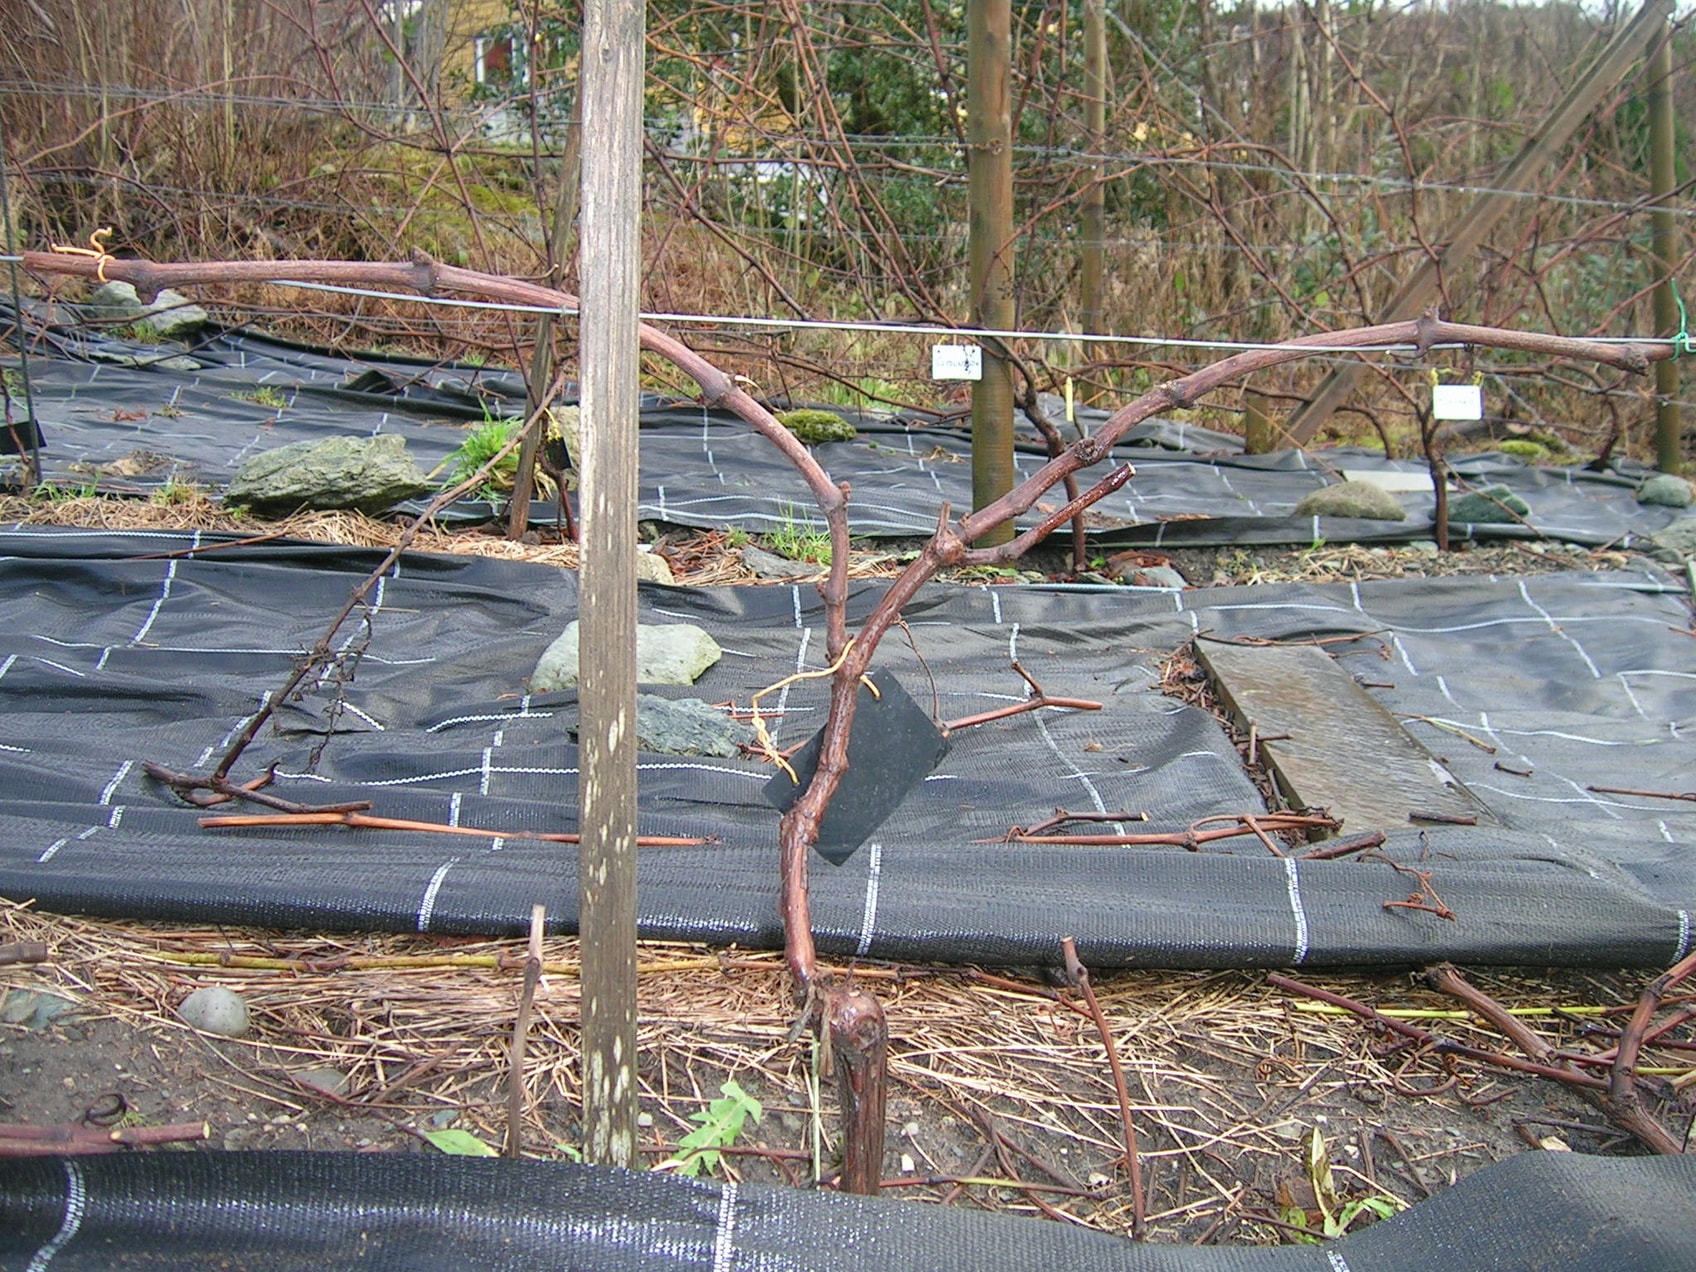
The shoots are then tied horizontally to the lowest wire. The coming summer will be the third summer. The plant will most likely produce grapes. If the shoots are not as thick as a pencil, the plant must be cut back once more. This becomes the first fruiting season, and the plant should be limited to bearing 0.5 to 1 clusters per shoot.
Figure: Double Guyot
Pruning of grapevines more than 3 years old
This plant has borne fruit for several years, but the principle of pruning remains the same.
Figure: Early in winter
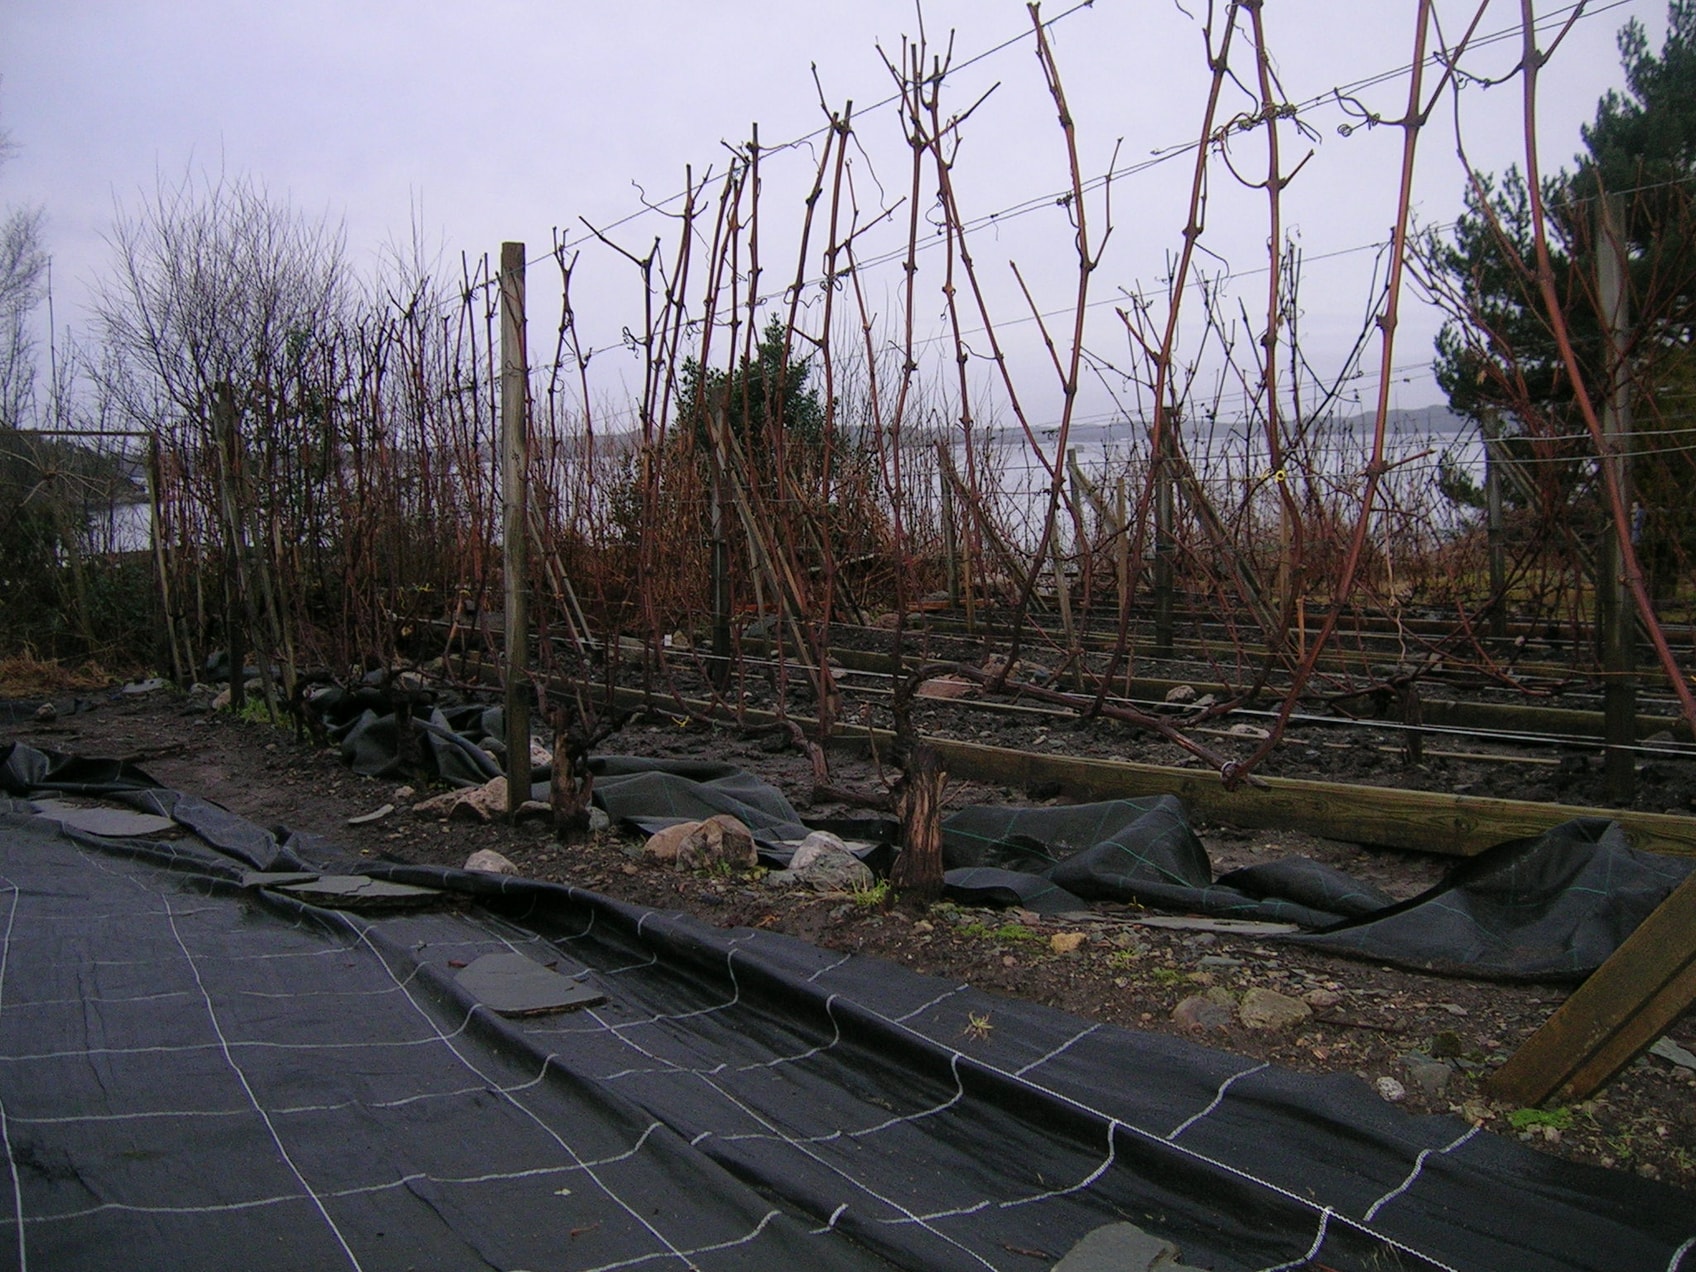
Figure: The plant ready for pruning
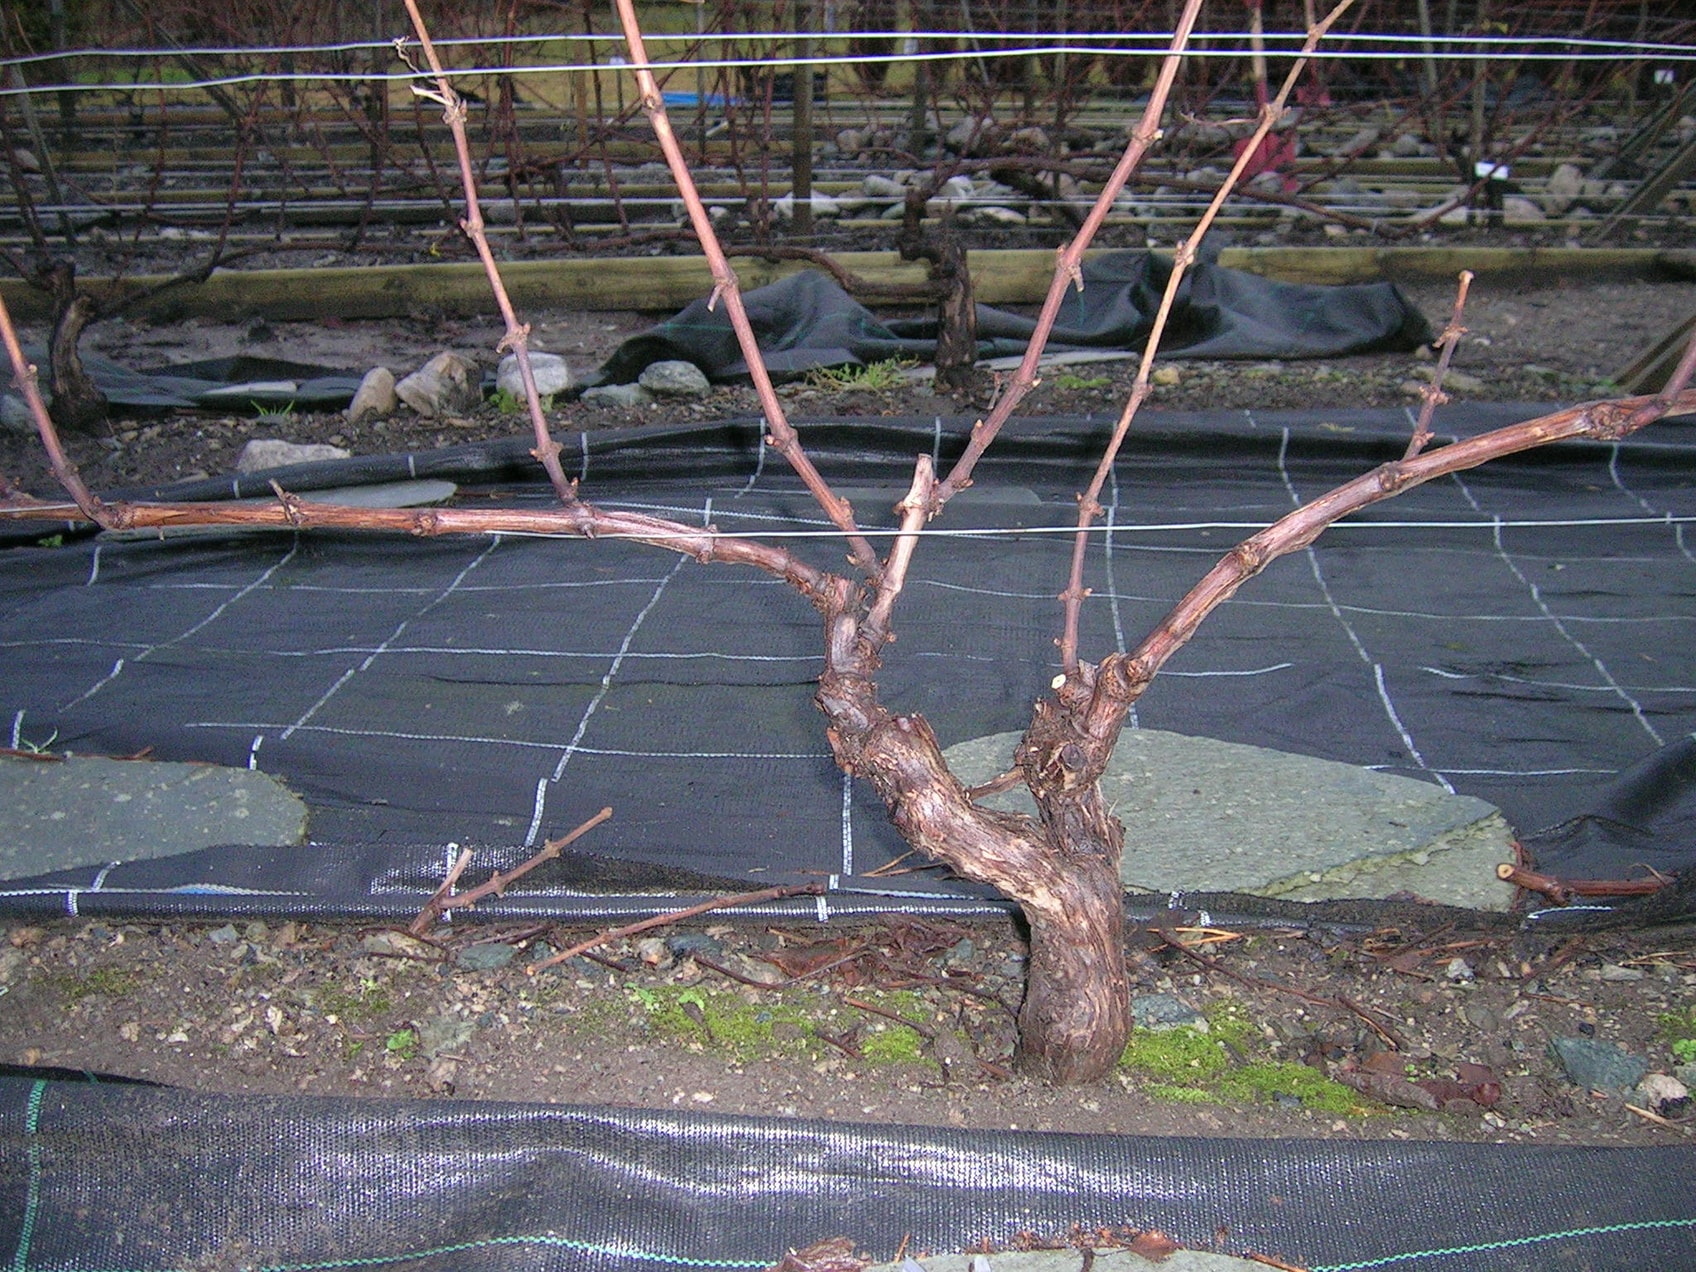
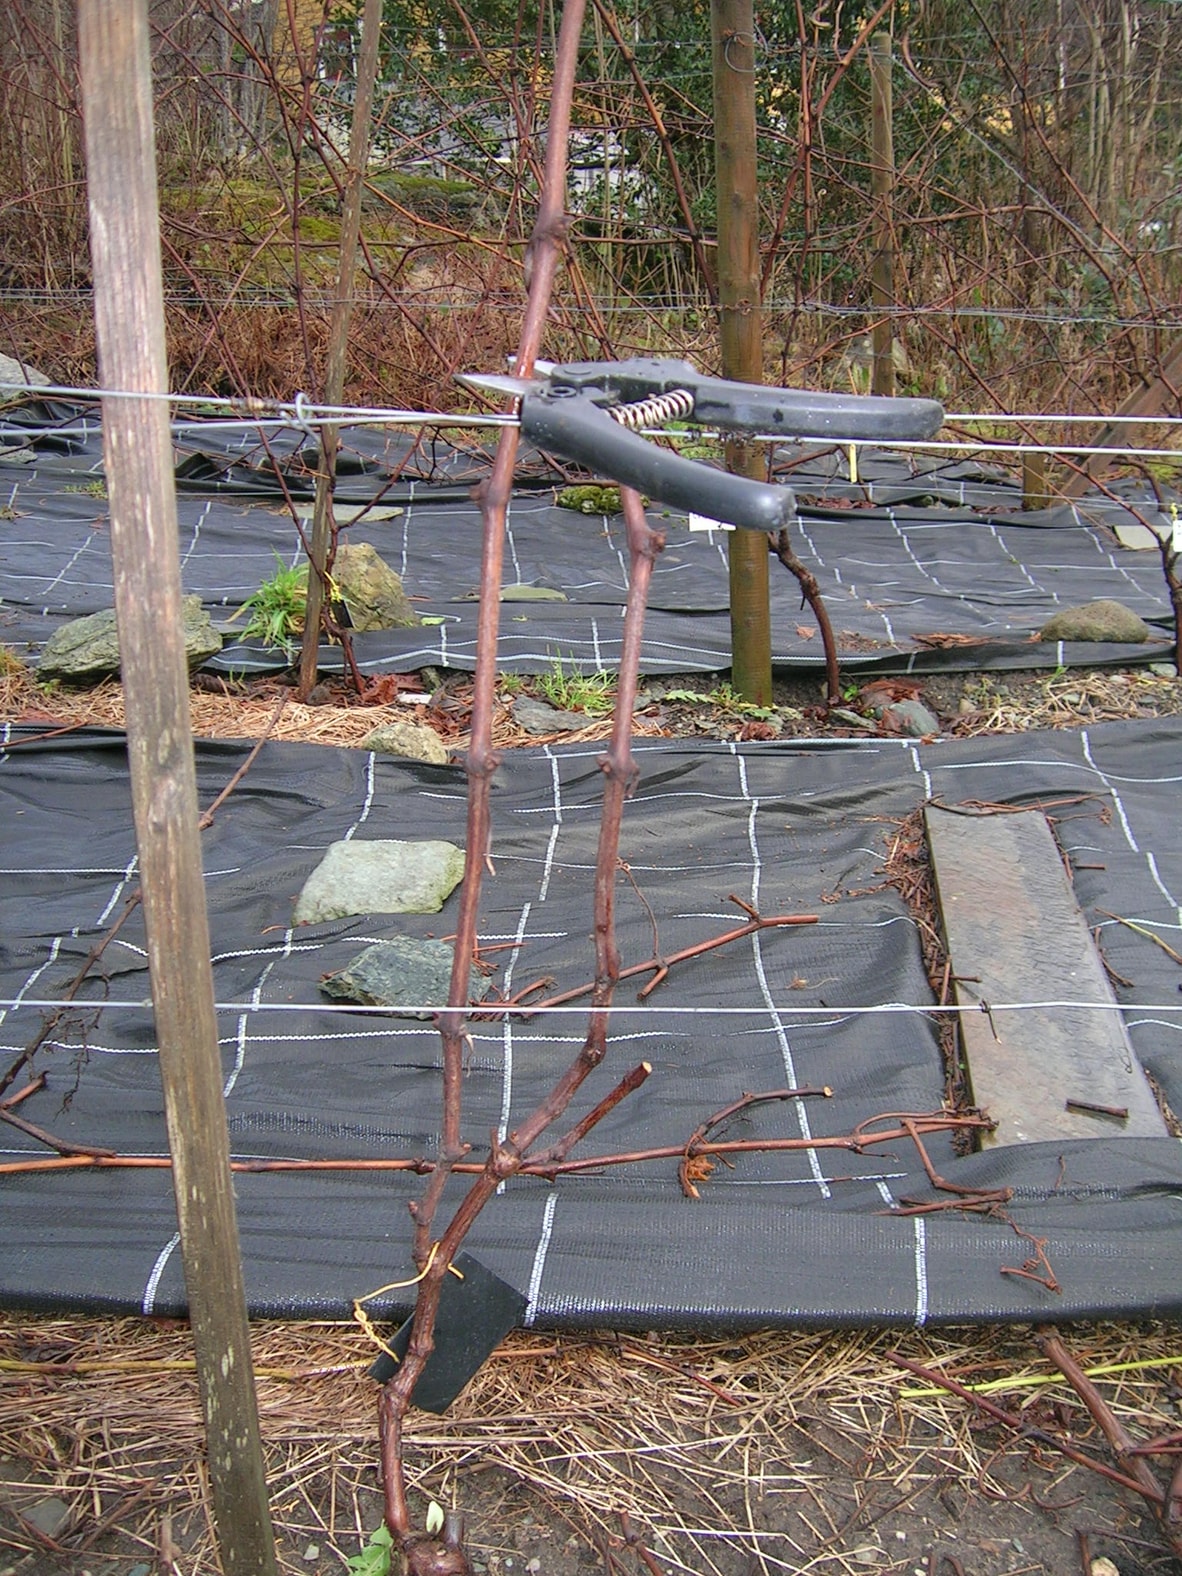
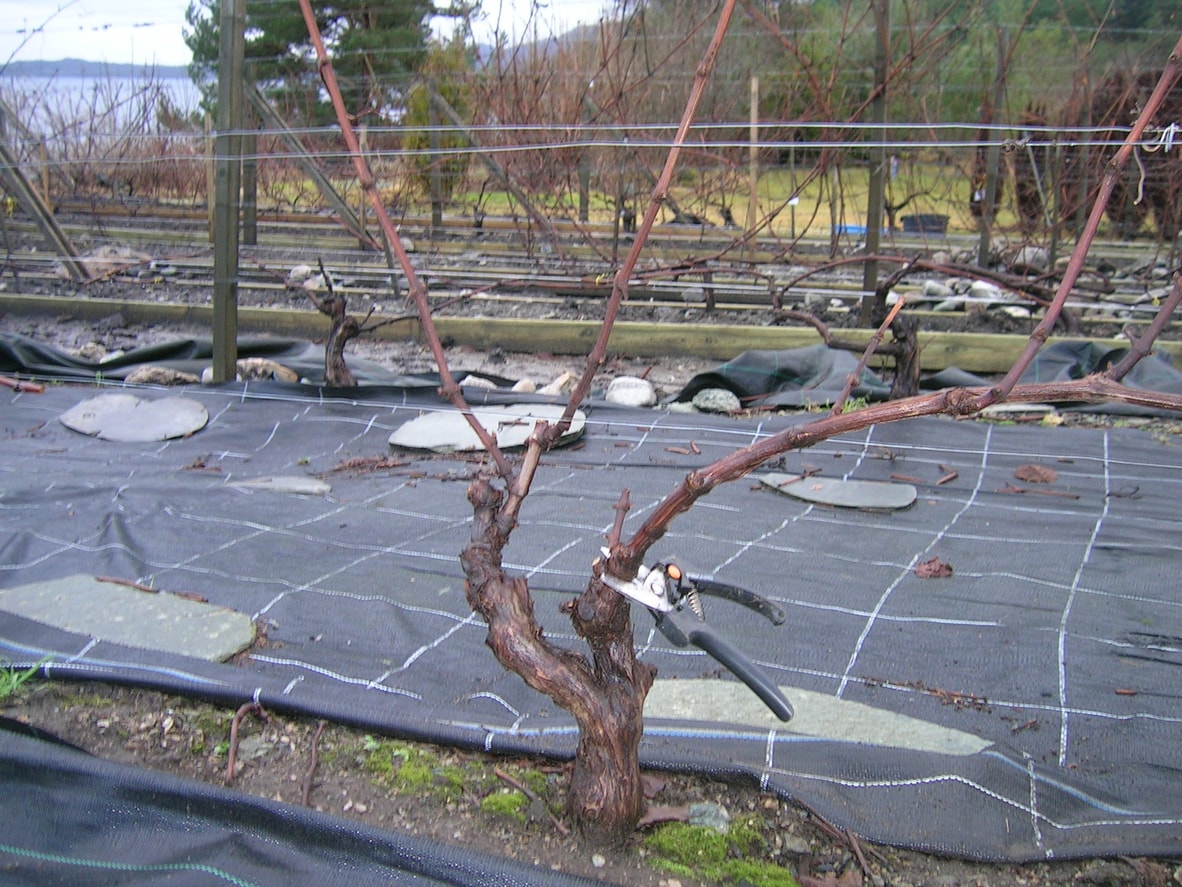
You need to select 2 strong shoots that can become next year’s fruiting canes. It is most advantageous to choose those standing closest to the center of the main trunk. The others are cut away.
Figure: Cut and discard – selecting canes
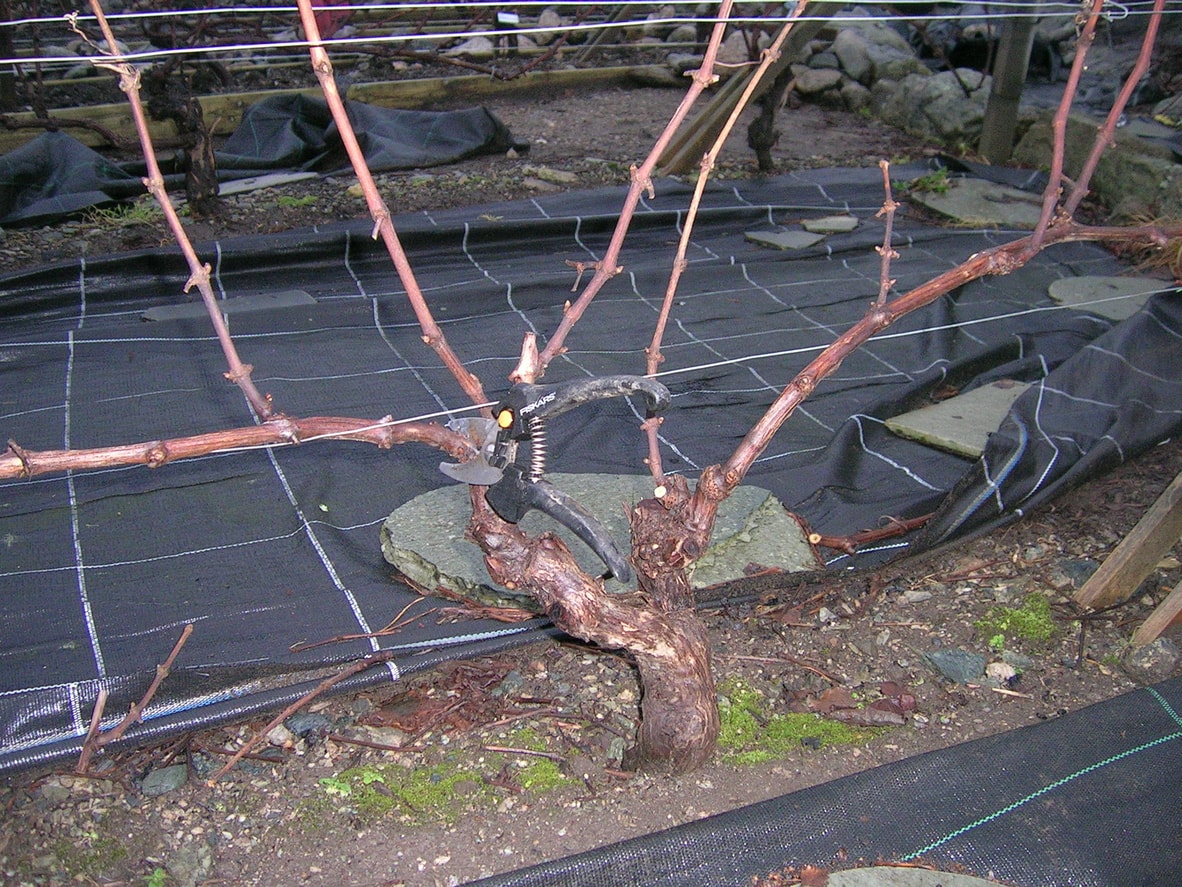
Now we are left with 2 fruiting canes. These are pruned back to 5 to 7 buds.
Figure: Cut and discard – pruning the canes
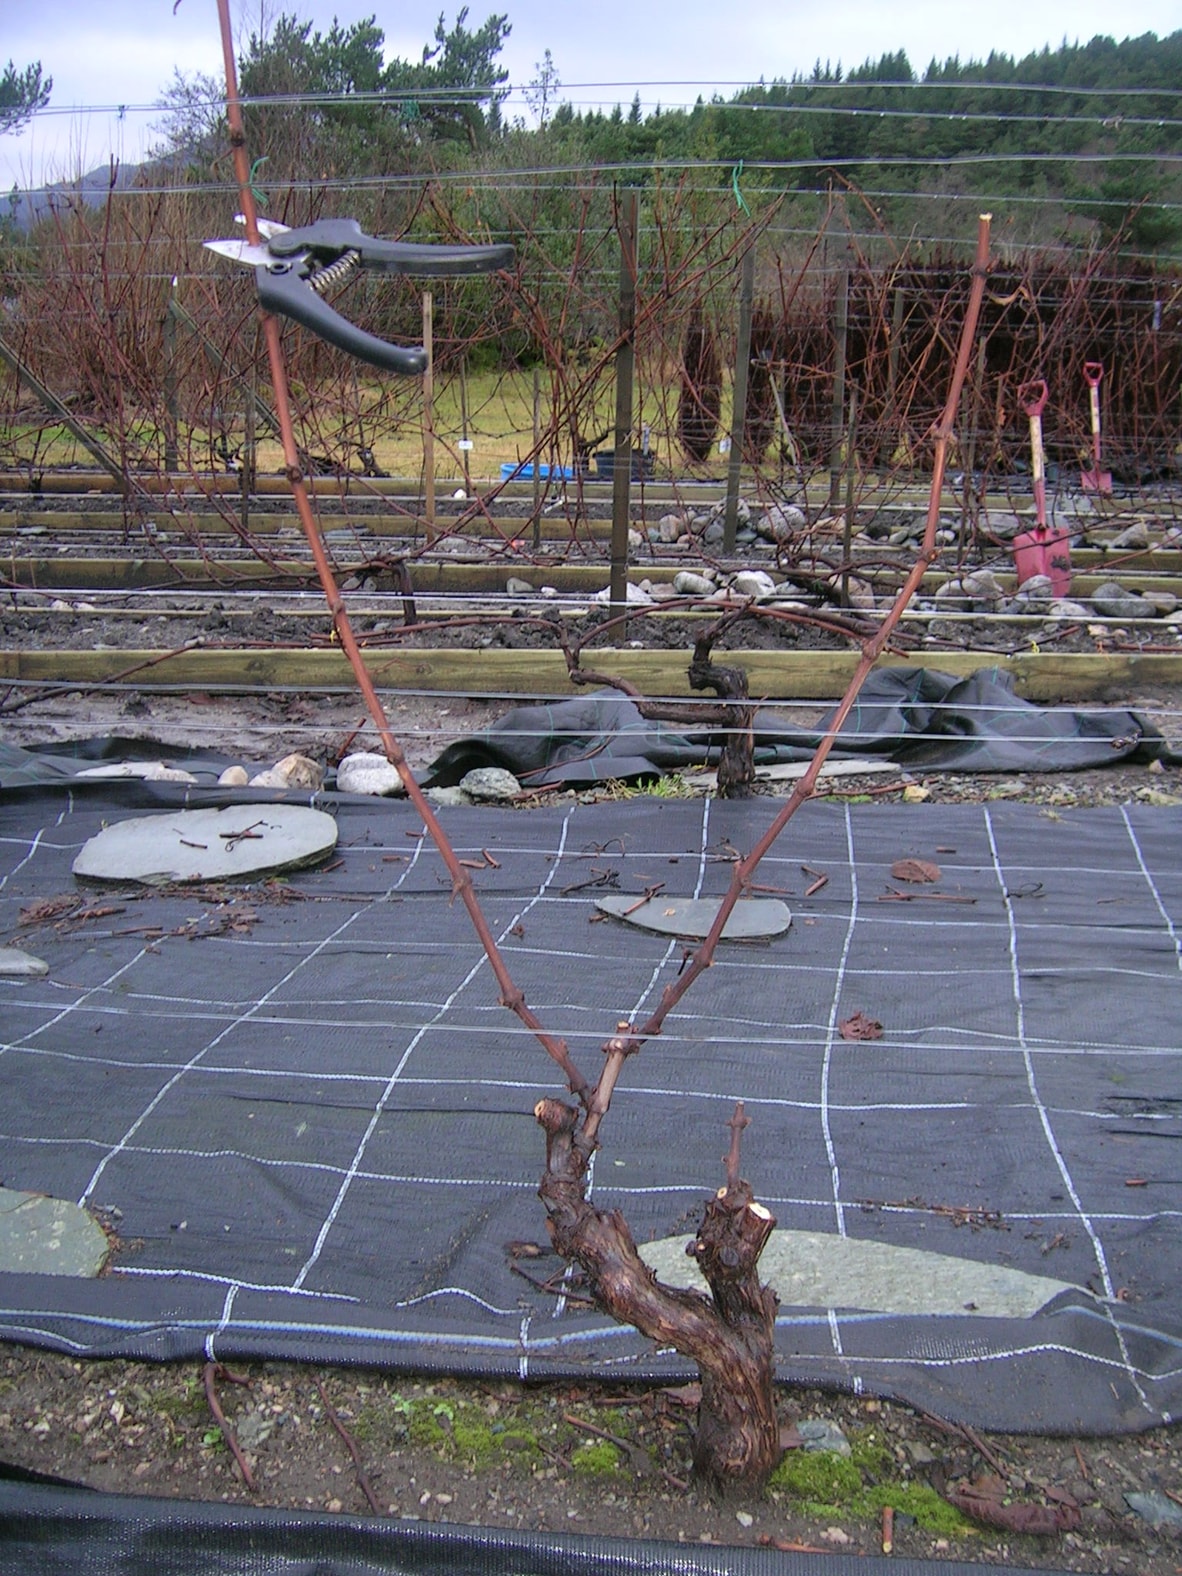
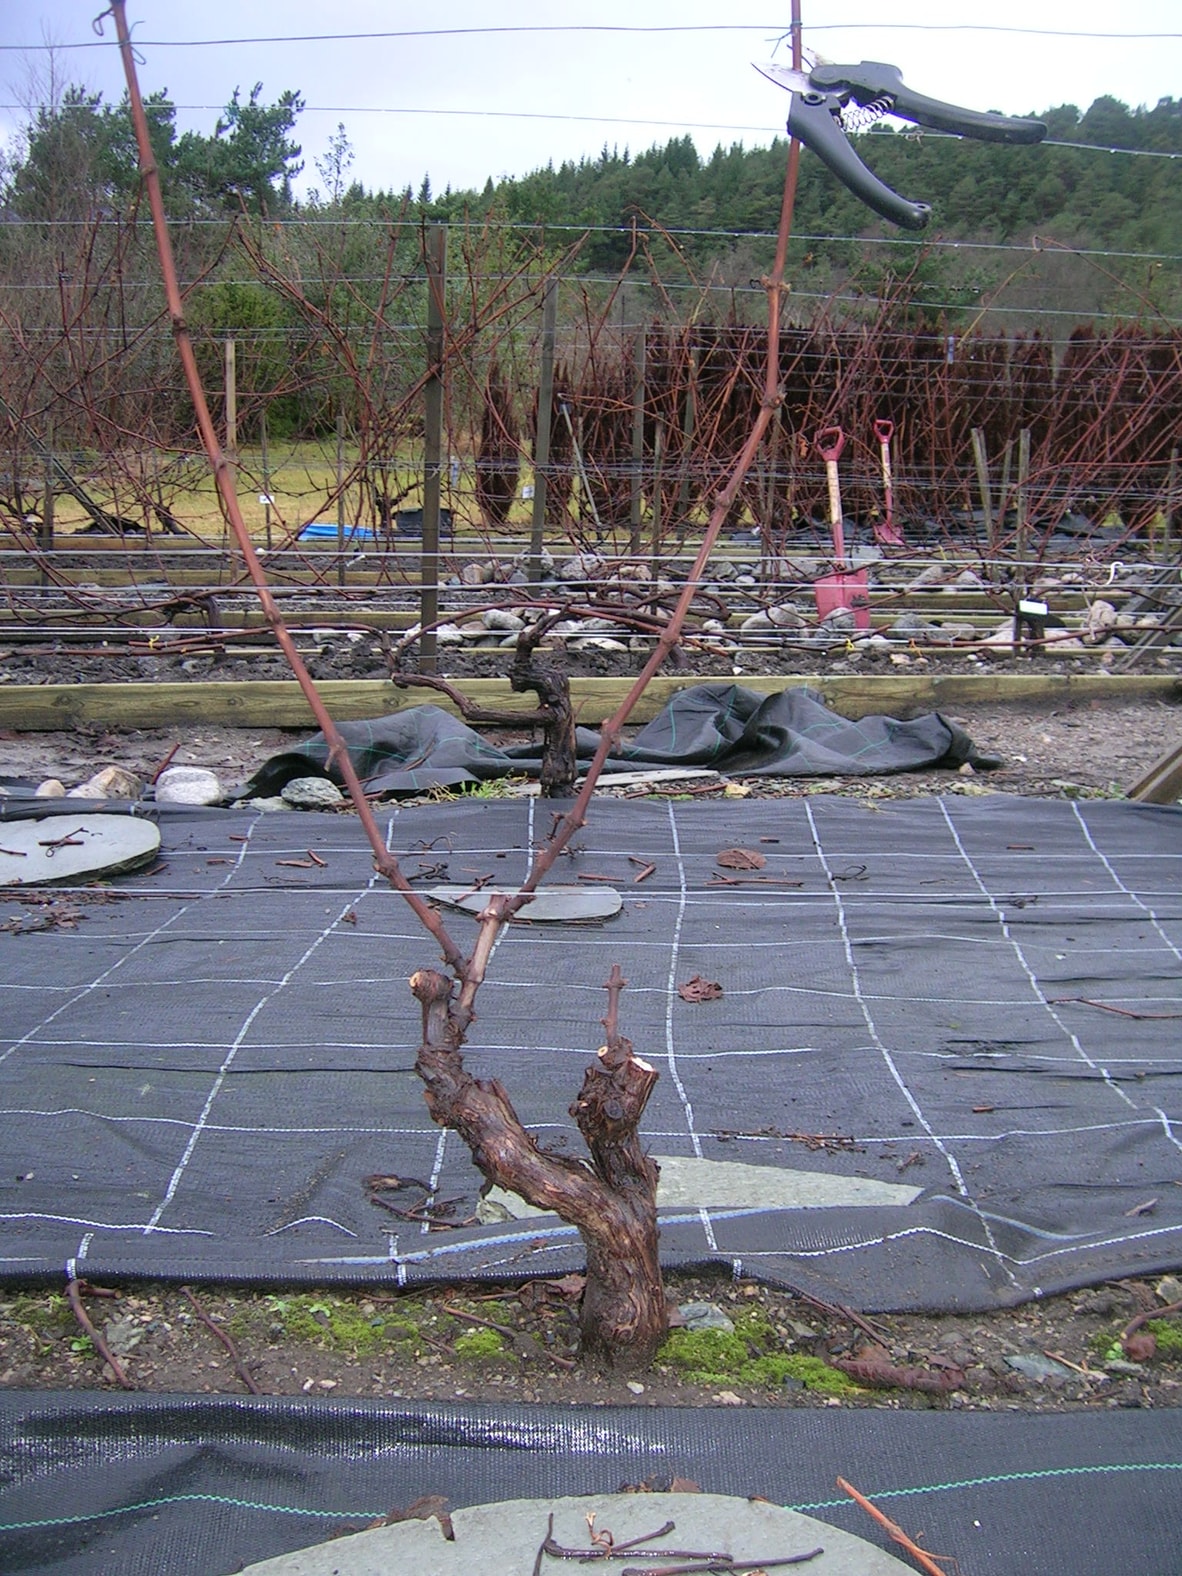
The shoots are tied horizontally to the wire. Notice the short fruit spur directly above the main trunk. It has 2 buds and will form next year’s fruiting canes, while what grew this year is cut away.
Figure: The plant is finished pruned
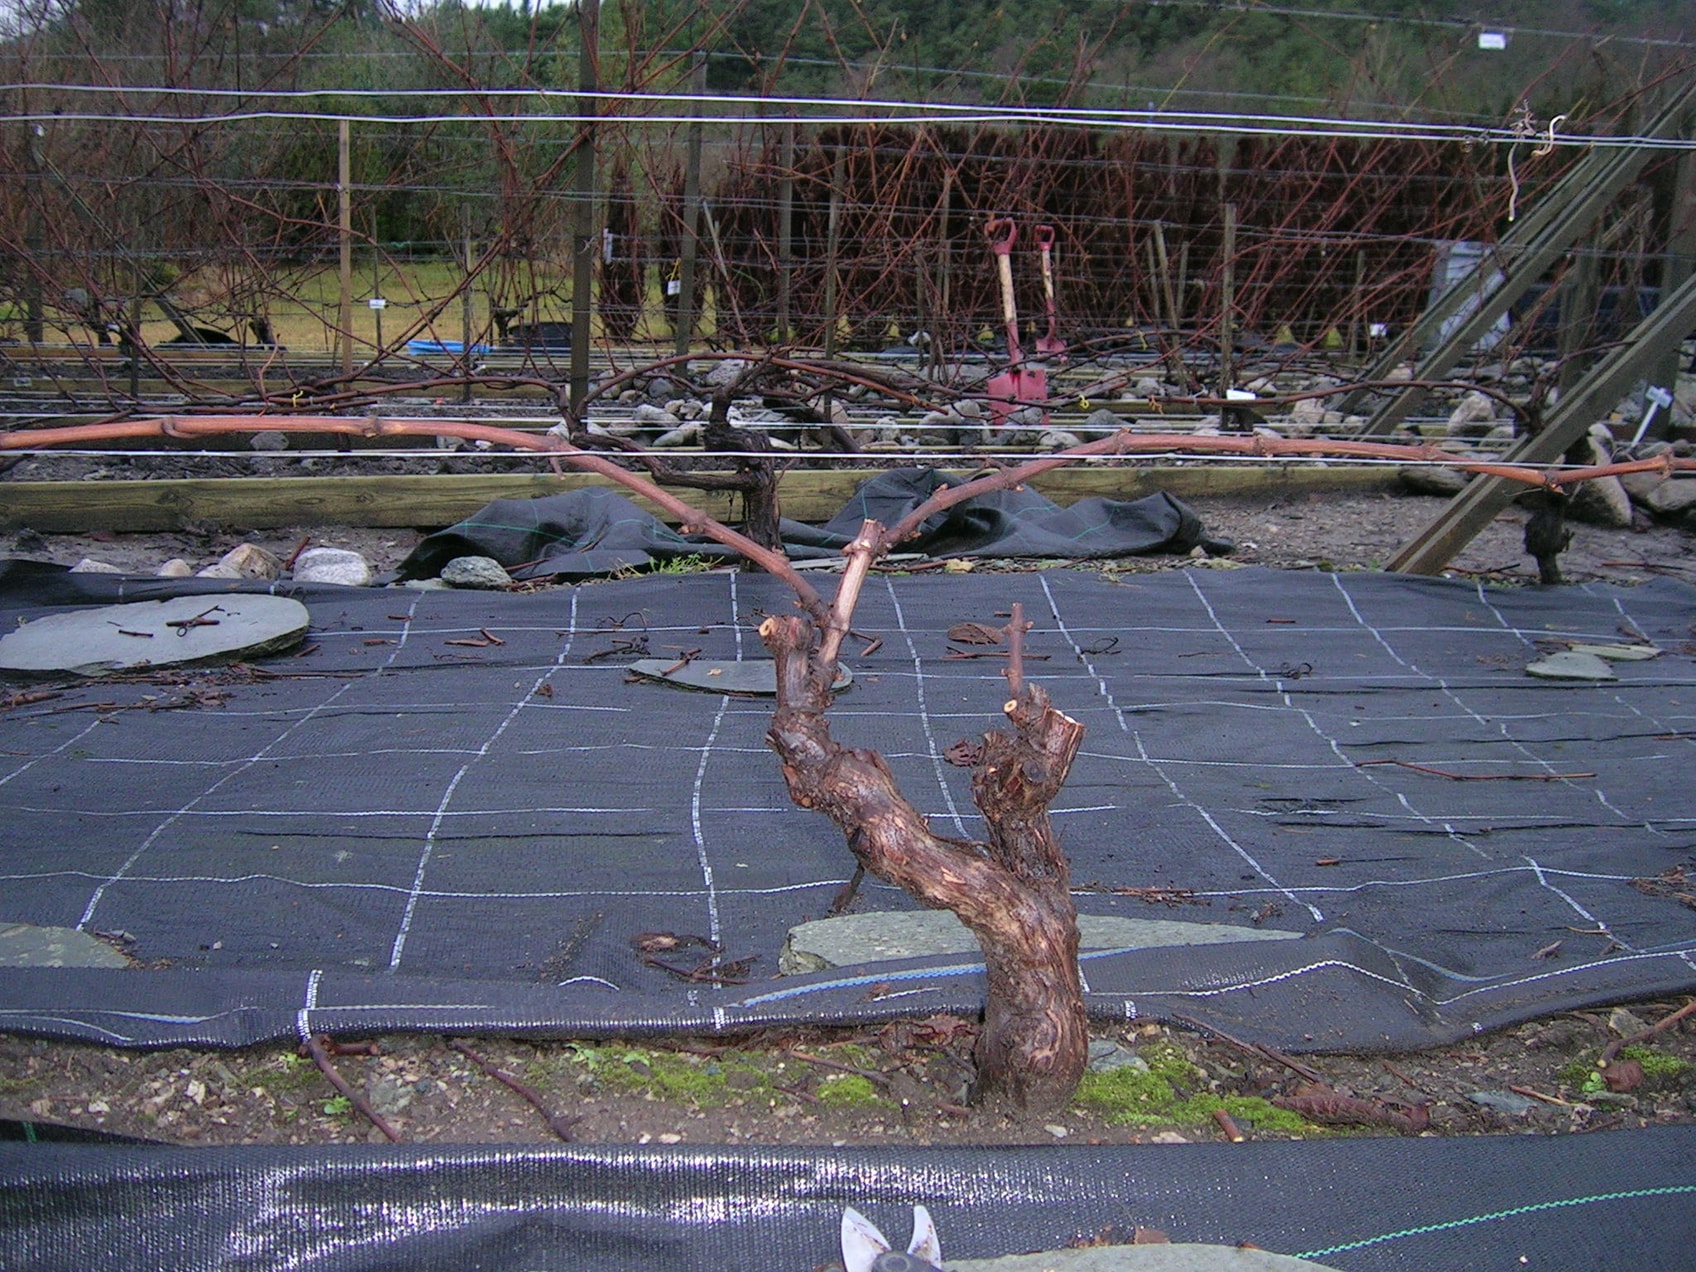
And the job is done. Good luck!
Figure: All plants finished pruned